Imperceptibly, autumn has taken over again, which means that the harvest season is approaching, as well as the timing of the wonderful autumn holidays. As it is impossible to imagine Christmas without a New Year tree, Halloween would be incomplete without cute, yet spooky cut pumpkins with lanterns. We are happy to share with you a tutorial on creating fascinating pumpkin designs and also present our free pumpkin carving templates.
First, prepare your workplace and all the necessary supplies:
- a round pumpkin
- two sharp knives (one with a thin short blade and one with a long wide blade)
- a stencil with the desired pattern
- an awl
- a scraper or spoon
- a cutting board
- a black marker
- self-adhesive tape
- a small candle or flashlight
How to carve a pumpkin using a Halloween stencil
- Select a pumpkin. Take the best, proportional, round, and orange pumpkin. Choose only fully ripe fruit with a smooth, firm surface without damage or blemishes. To place the candle inside it later easily, it is recommended to take a pumpkin with a height of at least 20 cm. Wash and dry the selected pumpkin thoroughly.
- Scrub the inside of the pumpkin. Cut off the pumpkin cap along the outline using a tapered cut. This is necessary to prevent the cut cap from falling inside. Then cut off excess pulp and fibers from the lid, if any. Next, you need to peel the pumpkin inside. To do this, use a special scraper or a tablespoon. Remove all the pulp and seed from the pumpkin, then scrape the rest off the walls well.
- Prepare pumpkin stencils. First draw the desired sketch on paper. If you don't have good artistic skills, using free pumpkin stencils is a great option. By printing such stencils on paper, you can facilitate your work greatly and make amazing festival pumpkins.
- Transfer the design. Glue the stencil on the pumpkin with tape and outline all the contours with an awl (this is how the pattern is imprinted on the peel). Tint the areas that will be completely cut out with a marker to make the work easier (this way it will be visible). Note that straight lines are much easier to cut than rounded ones.
- Cut out the drawing. Proceed carefully, use a reciprocating motion. Take your time, try to adhere to the outline as closely as possible to create exciting pumpkin designs. If you need to make a sharp corner, then pull out the knife and insert it back at a different angle.
- Add lighting. At the final stage, you need to install lighting. It can be a small candle, a garland, or a lantern of your choice. Place the candle in a glass cup inside and leave the top of the pumpkin open for ventilation. Another alternative is a small flashlight.
The walking dead


The witchcraft


The phantom smile


Starlight Night


Halloween spirit


Pumpkin smile


Dracula's castle


Octopus style


The black cauldron


The Dark side cat


Helloween Batstyle


The cat witch


Kitty constellation

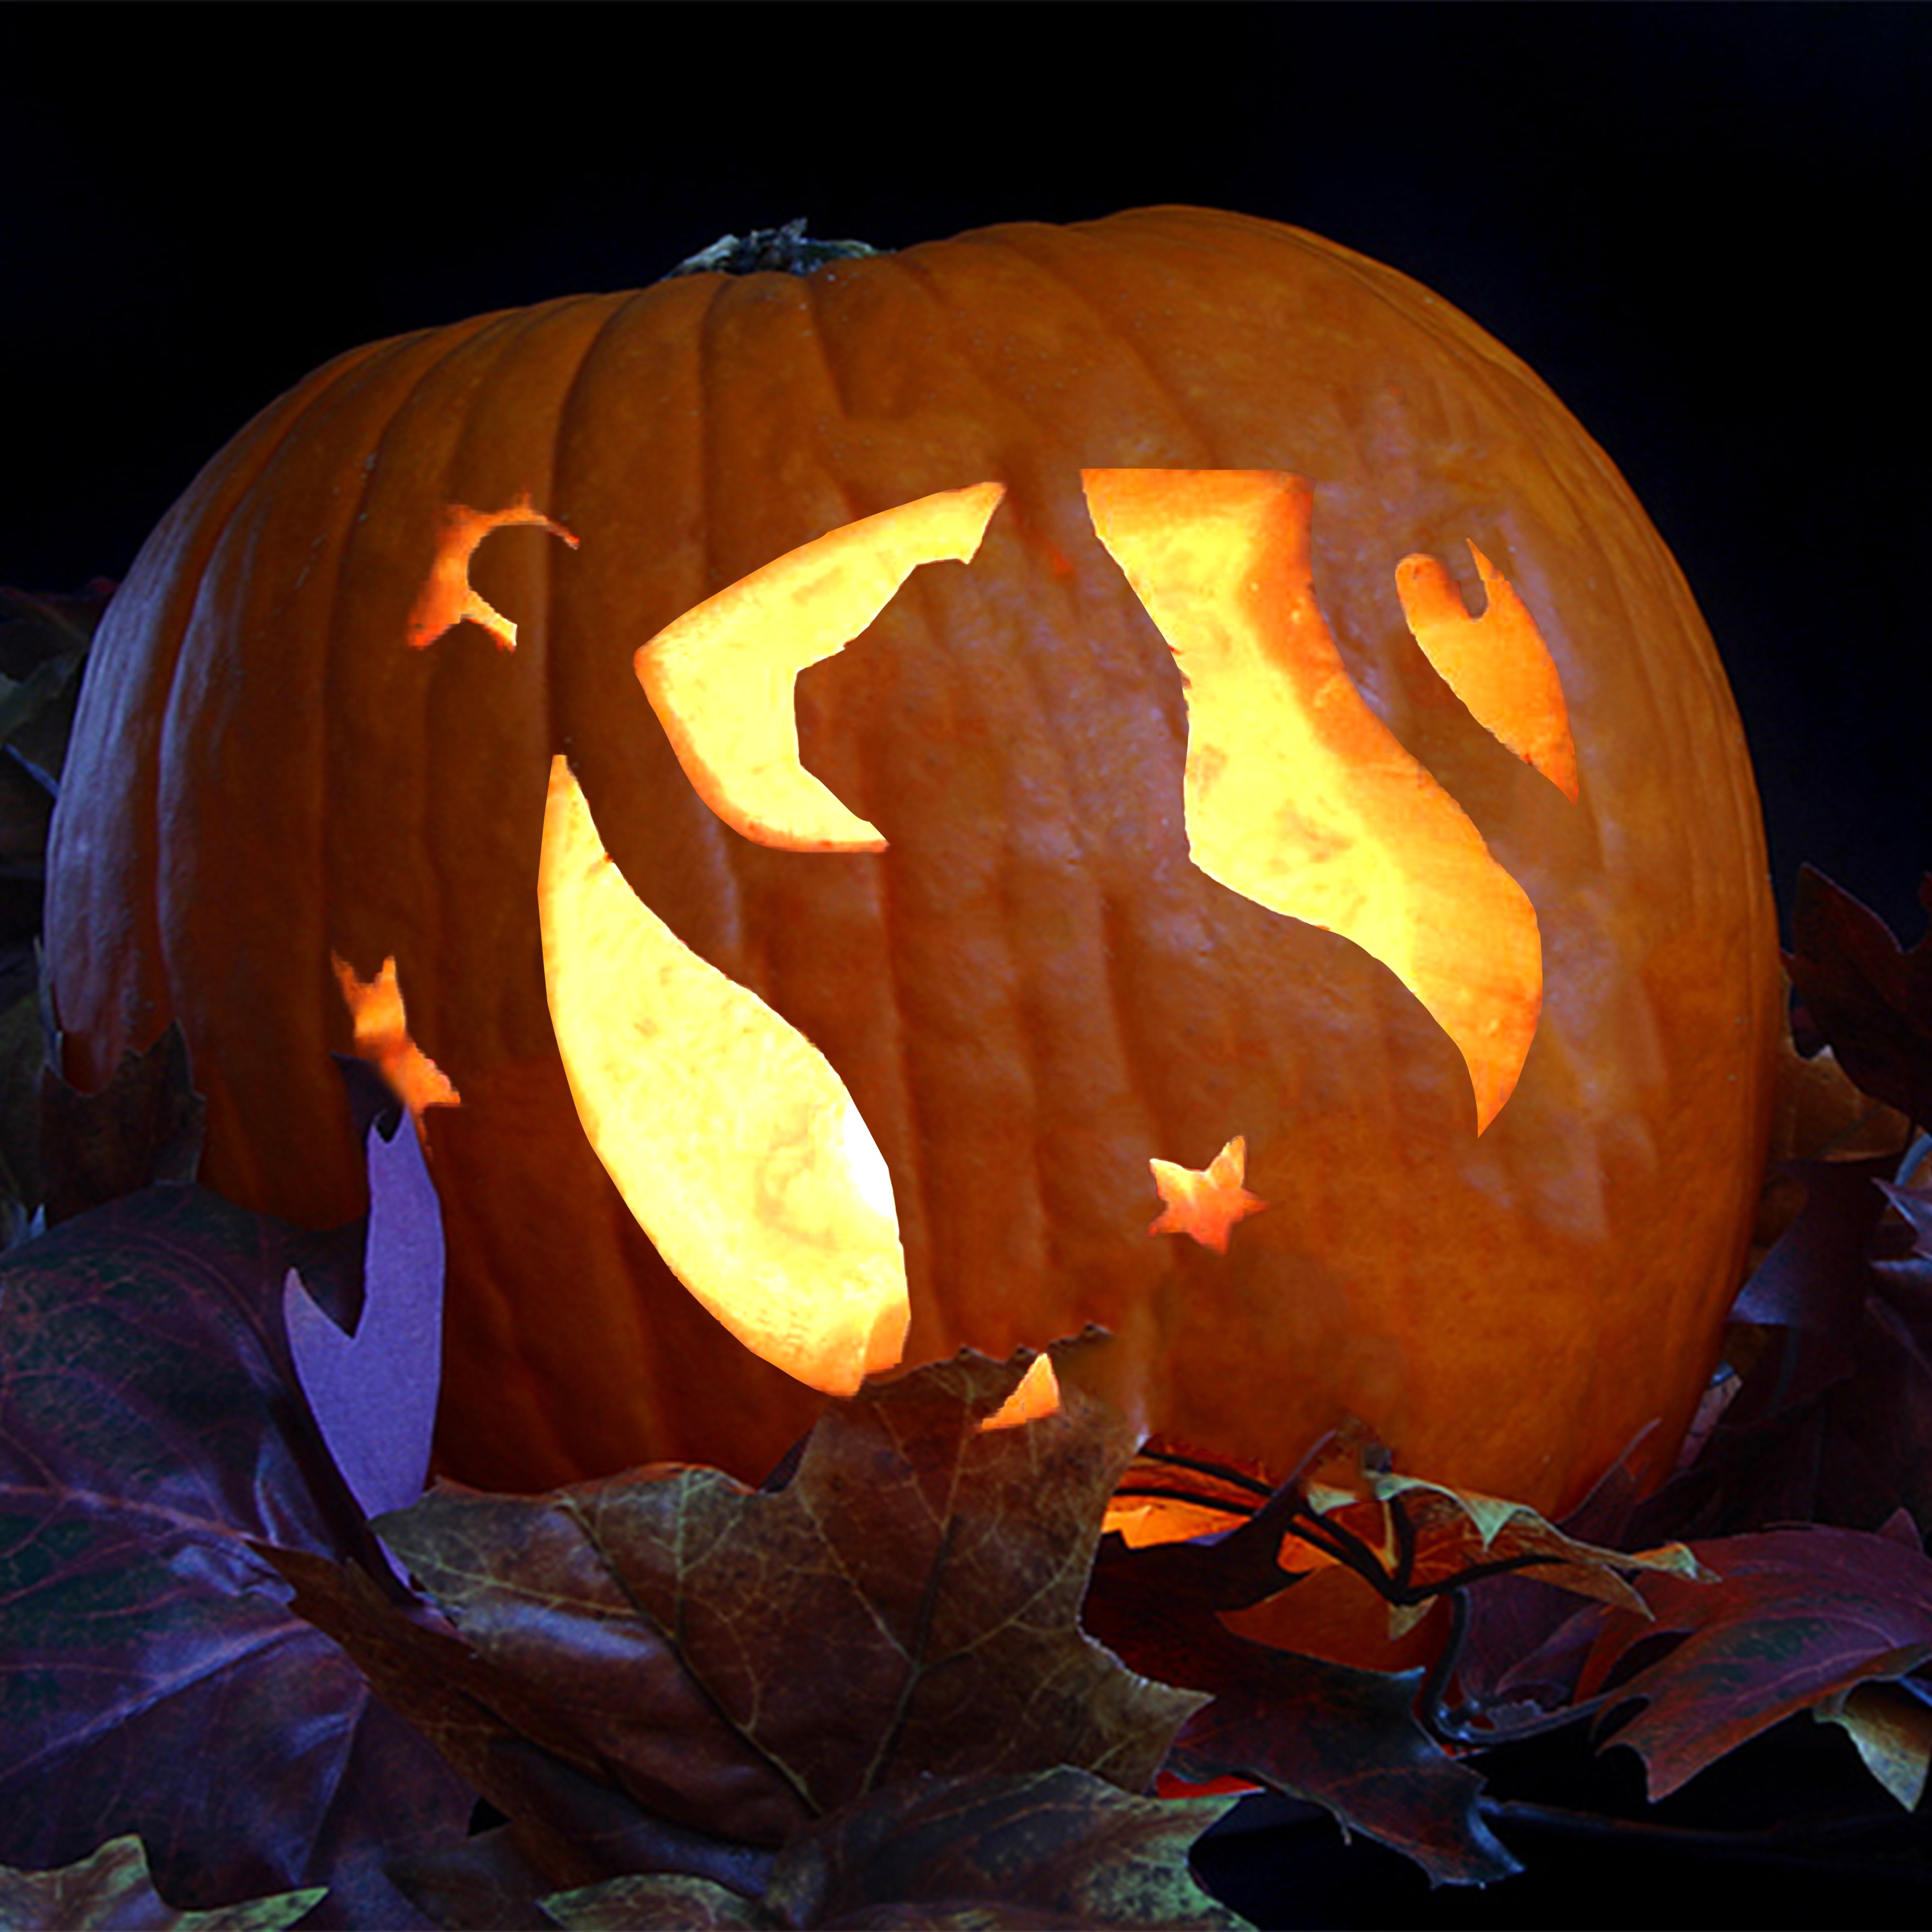
Ghost in the shell


The Dreamcatcher


Fangorn forest


Mickey Mouse


The witch


Zombie apocalypse


