
Table of Contents:
Making a DIY T-shirt painting is an original and fun way to breathe new life into your old clothes. You can use ready-made stencils to copy your favorite designs, logos, or sayings. Alternatively, you can get creative and freehand your own T-shirt painting ideas. Check out these 100+ easy things to draw for inspiration.

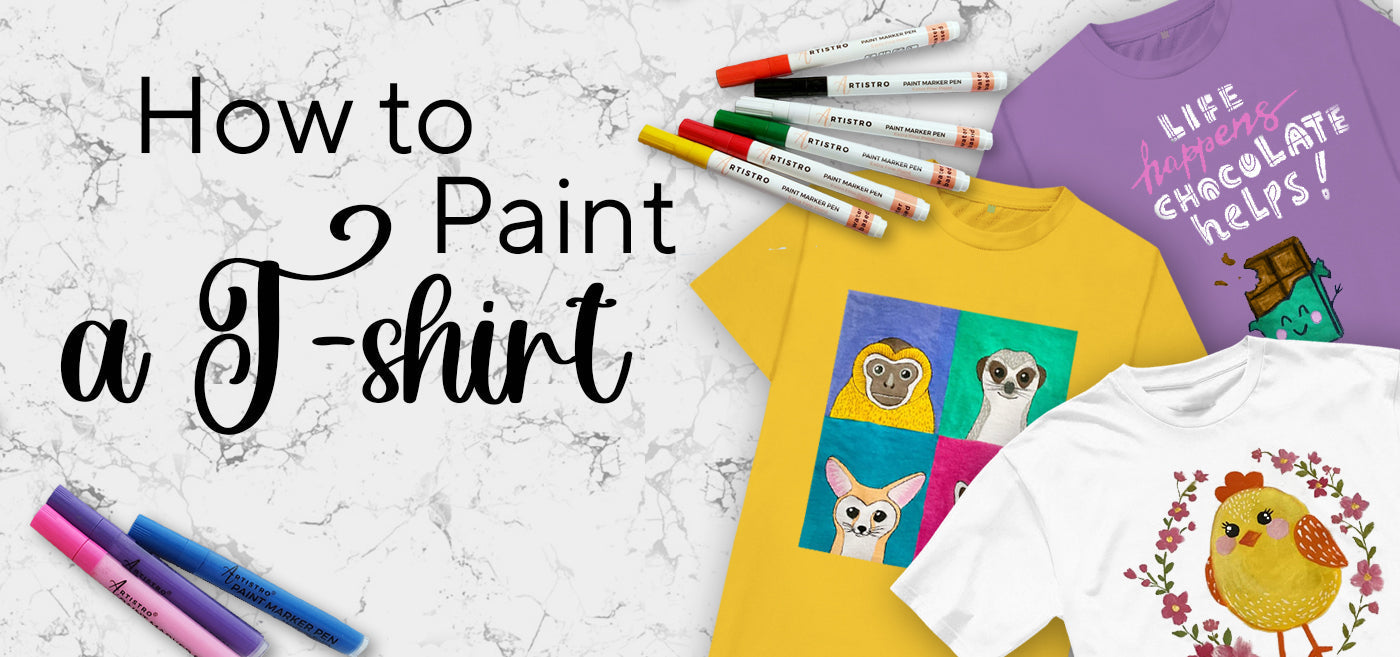
How to Paint a T-shirt
It's amazing how easy and affordable it is to create a new T-shirt design. Here's how to do it in 3 easy steps:
- Preliminary preparation of the T-shirt and workspace
- Drawing your design
- Sealing the painting

The basic t-shirt painting rules
Here are the basic rules for painting on T-shirts:

T-shirt painting design: Preliminary preparation
Before starting work, it is important to prepare the T-shirt correctly. There is always a slight chance of fabric shrinkage after washing, so be sure to wash and dry the T-shirt before starting. Study the manufacturer tag carefully. It is recommended to choose a T-shirt made of natural fabric, like linen or cotton. A good rule of thumb is to not use fabrics comprising more than 10% synthetic material. Do not use a T-shirt with defects such as snagging, roughness, pilling faded tone, etc.

After applying the design, wash the T-shirt by hand in cold water (up to 30 degrees). Be sure to turn the shirt inside out first to secure the design. If it needs to be ironed, always iron a printed T-shirt on the coolest setting, without steam, and inside-out.
How to seal a T-shirt painting
- Let the T-shirt painting dry for 2 days first. Keep the shirt out of direct sunlight to protect the color of the shirt and ink.
- To seal a picture, it is enough to iron the DIY T-shirt painting you made. As mentioned earlier, remember to place a piece of cardboard inside the T-shirt and a piece of cotton cloth between the iron and the T-shirt before ironing. Ironing time is 5-10 minutes, depending on how many layers the image has and how thickly the paint was applied.
That's it — your unique T-shirt is ready! Enjoy your new look, and don’t forget to enjoy the creative process along the way!
Stylish t-shirt painting ideas
The baby Yoda t-shirt painting

To create your own Yoda T-shirt, you will need some standard art supplies and a finished drawing. Although experienced artists can create a drawing in the process, we recommend that you prepare a drawing of baby Yoda in advance, which you will use as a stencil.
You will need:

How to create a tshirt painting design
- cut out the Yoda picture with scissors
- attach the drawing of Yoda to the shirt and outline it with a pencil
- add the missing details of the drawing with a pencil
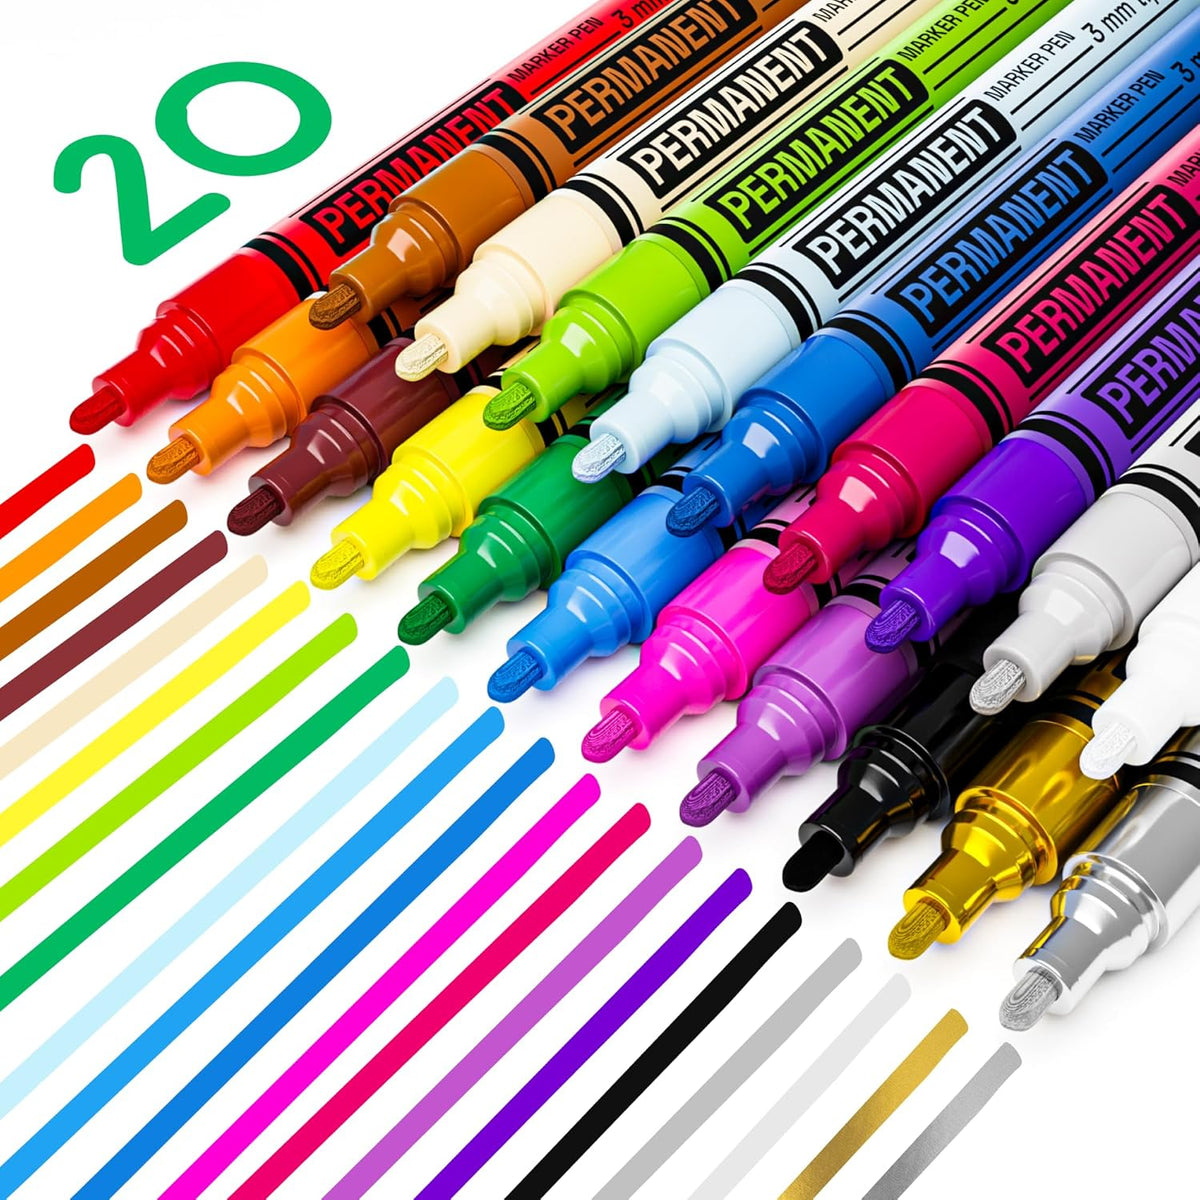
- select markers of the required colors and start painting a t-shirt
- tint Yoda's skin
- let each layer of ink dry completely before applying a new layer over it
- add some shadows with the required colors
- tint Yoda's clothes
- draw his eyes and ears
- draw his mobile cradle
- outline the contours with black marker
- be sure to add a lettering with your favorite Star Wars quote
Tip! You can use Star Wars logos as t-shirt painting ideas. These stencils are perfect for beginners who are just starting out with drawing.
Kung fu Panda t-shirt painting

You will need:
How to create a tshirt painting design
- Outline the stencil with a graphite pencil.
- Apply base paints (white first, black and brown on top).
- With a graphite pencil, draw the panda's face on the white paint.
- Outline the panda's face and shade the nose and area around the eyes with a black marker.
- Trace all the elements of the figure and finish the small details (belt, socks).
- Using a gray and white marker, add shadows to the right and left of the panda's belly, chin, cheeks, and head.
- Draw small bristles on the arms and legs with a white marker.
Disney t-shirt painting

You will need:
How to create a tshirt painting design
- With a red marker, draw the first lettering in handwritten letters.
- With a black marker, draw the second block lettering.
- Using a gold marker, draw the word Disney in the center of the shirt.
- Add random stars with gold, red, and black markers.
- In the upper right corner above the first lettering, draw Mickey's ears with a black marker and tint them completely.
Wreck-it Ralph t-shirt painting

You will need:
How to create a tshirt painting design
- Outline the stencil with a graphite pencil.
- Apply the base for the drawing with white paint.
- Separate the key elements of the drawing with a graphite pencil.
- Use a brown marker to tone Ralph's hair.
- Use a beige marker to tone exposed skin.
- Draw Ralph's T-shirt with a yellow marker and his pants with a red marker.
- Using a black marker, trace all the elements of Ralph's figure to give the drawing volume.
- Draw the teeth, eyebrows, eyes and cheeks of Ralph.
- Add the lettering.
Chocolate t-shirt painting

You will need:
How to create a tshirt painting design
- Draw the lettering with black and pink markers.
- On the sides, add chocolate cubes with a brown marker.
- At the bottom, draw the outline of the chocolate bar with a black marker.
- Tint the cover of the chocolate bar in green, and the chocolate itself in brown.
- Draw the face of the chocolate bar with a black marker.
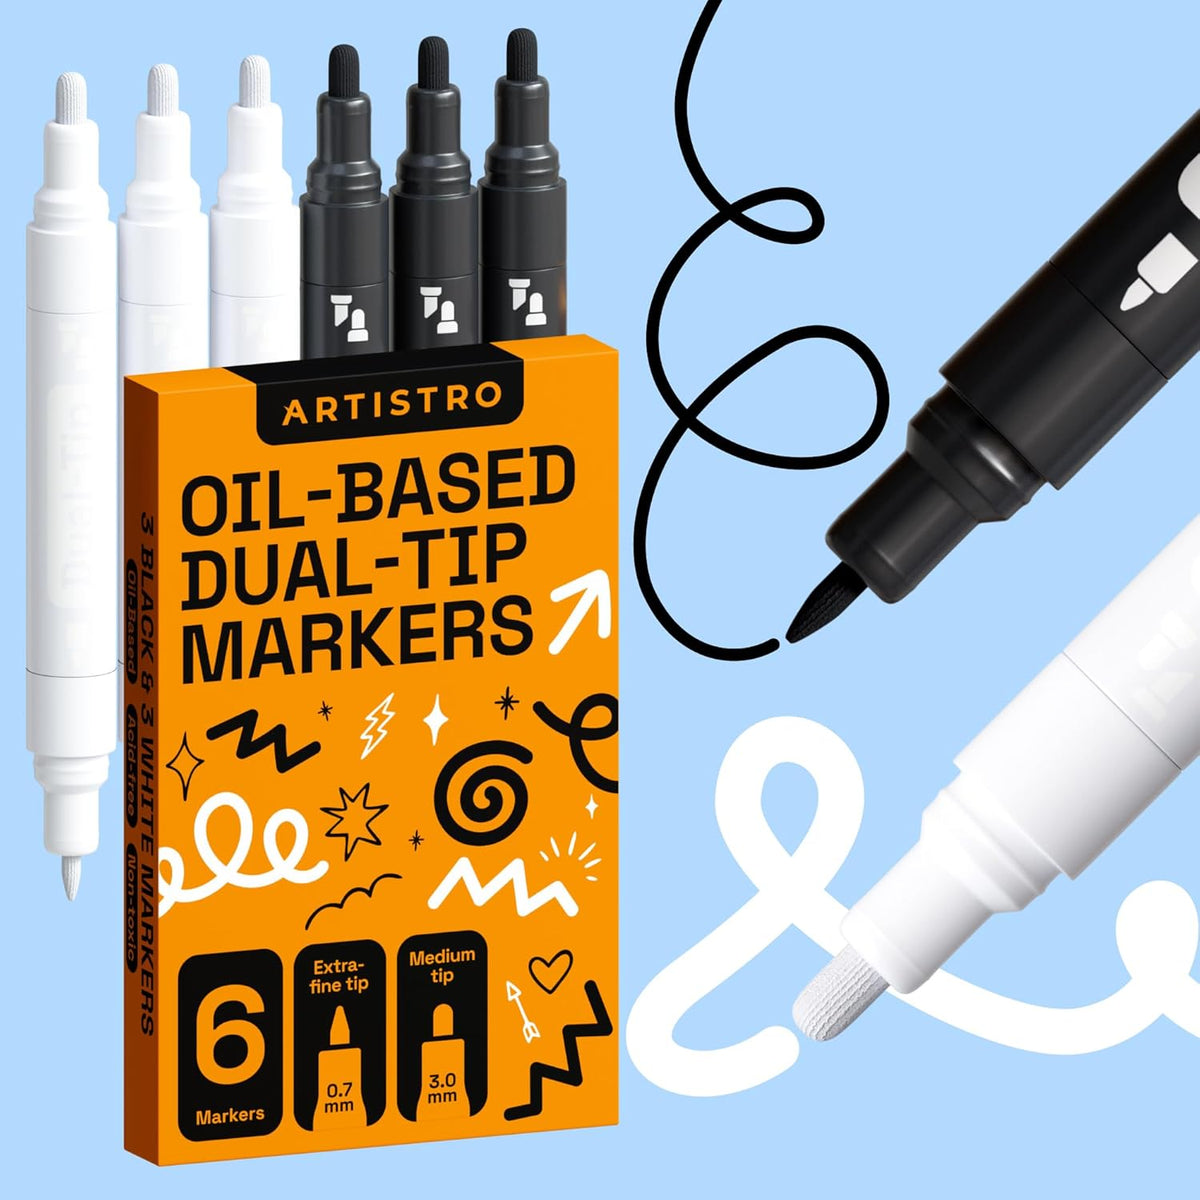
- With a white marker, add an ornament over the black lettering to create volume.
Mandala t shirt drawing step by step
T shirt drawing stage 1: Creating t shirt painting

T shirt drawing step 1. With a black marker, draw a horizontal line in the middle of the t-shirt - this will be the basis of our t shirt painting. Next, draw two semicircles one inside the other (this is the core of the mandala t shirt drawing) and add two rows of petals on top (this is the first inflorescence of the mandala). This is how we finish the first step of painting shirts.

T shirt drawing step 2. Add another row of double larger petals above the first inflorescence and tint the base of each petal with black. This is how we finish the second step of t shirt painting process.
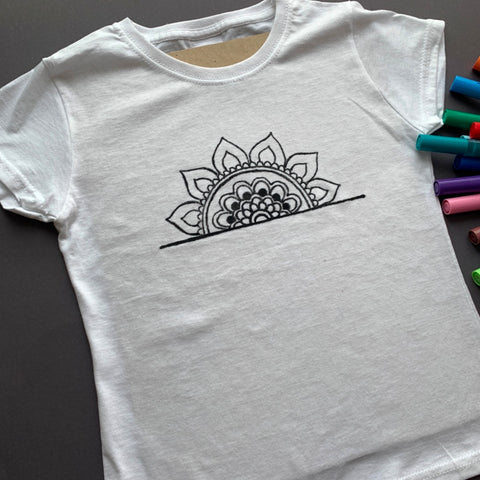
T shirt drawing step 3. Draw two semicircles (one inside the second one) framing our main mandala t shirt drawing and complete them with a chain of small ornaments (as depicted in our t shirt painted). Next, add one two-tiered row of large curly sunflower petals on top - this will add freshness to your t shirt painting ideas. This is how we complete the third step of t shirt painting process.

T shirt drawing step 4. To diversify the t shirt painting ideas, let's add some more black inside. Between the top row of petals (in between the petals) add another row of semicircular petals and tint them. To get this t shirt painted, add some more small ornaments as shown in our painted t shirts.This is how we complete the fourth step of t shirt painting process.

T shirt drawing stage 2: Coloring t shirt painting
T shirt drawing step 5. Our guide on how to design t shirts also includes a step by step coloring of the mandala t shirt drawing. Use acrylic markers to color the t shirt painting. Take blue, orange, pink markers to tint the base of the t shirt drawing (the smallest inflorescence). This is how we finish step 5 of t shirt painting process.

T shirt drawing step 6. Tint the petals of the second inflorescence of our T shirt drawing with a blue marker. Use a lilac marker to tint the upper semicircle (the half halo of our t shirt drawing), and tint its decorations with a yellow marker. This is how we finish step 6 to get the t shirt painted.
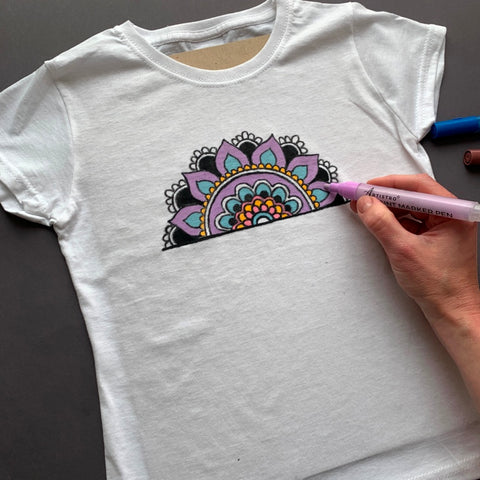
T shirt drawing step 7. Continue tinting the upper inflorescence of the t shirt drawing (in the form of a sunflower): tint the inner part of the petals with a blue marker and the outer one with a purple marker. This is how we finish step 7 of painting shirts.

T shirt drawing step 8. In step 8, we need to add the final touches to our t shirt drawing. Here is one of the simplest t shirt painting ideas for this: with a black marker, draw transverse lines in those parts of the mandala where you toned with a purple marker (inner halo and outer petals of a sunflower). Then use a pink marker to shade the chain decoration over the black petals of our t shirt drawing. This is how we finish step 8 of the painting shirts.

T shirt drawing step 9. Now it's time to add some more original embellishments to adorn our t shirt drawing. Here are some decorating t shirt painting ideas: draw 5 pendants with crescent, stars, flower (only the center one), circles under the main vertical line (the basis of our t shirt painted). Between these 5 pendants, draw 6 more short droplets and tint them black. This is how we finish step 9 to get the t shirt painted.

T shirt drawing step 10. Tint the embellishments for the t shirt drawing as follows: the stars are pink and yellow, the crescent is blue, the large balls are purple, and the small balls are blue, the flower is pink. This is how we complete step 10 of painting shirts.

T shirt drawing final step. Now that you know how to draw how to design t shirts and to get your old t shirt painted in the style, it's time for the final step. Get your t shirt painting ready for a photo shoot! Find a nice colored background and place markers next to your t shirt drawing. This is how we finish the final step of the painting shirts.
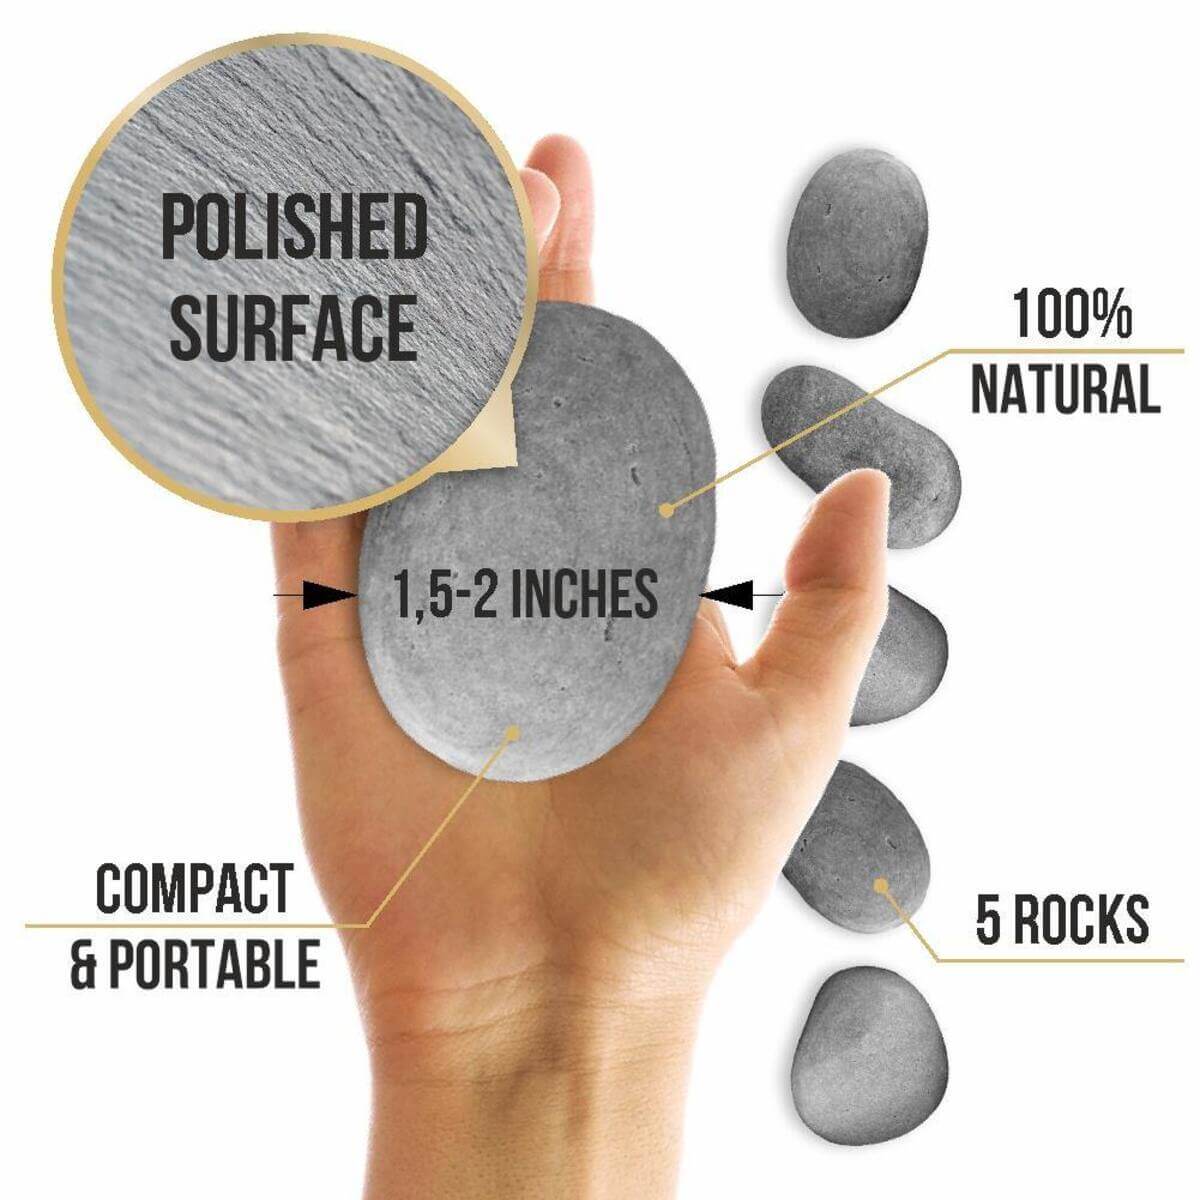
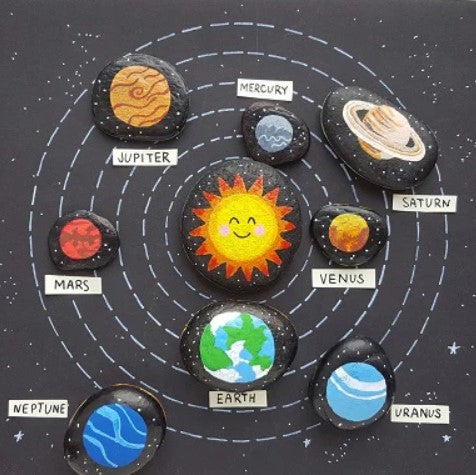
Be sure to check out our painting on stones step by step guide later and discover 100+ new rock painting ideas with Artistro!