


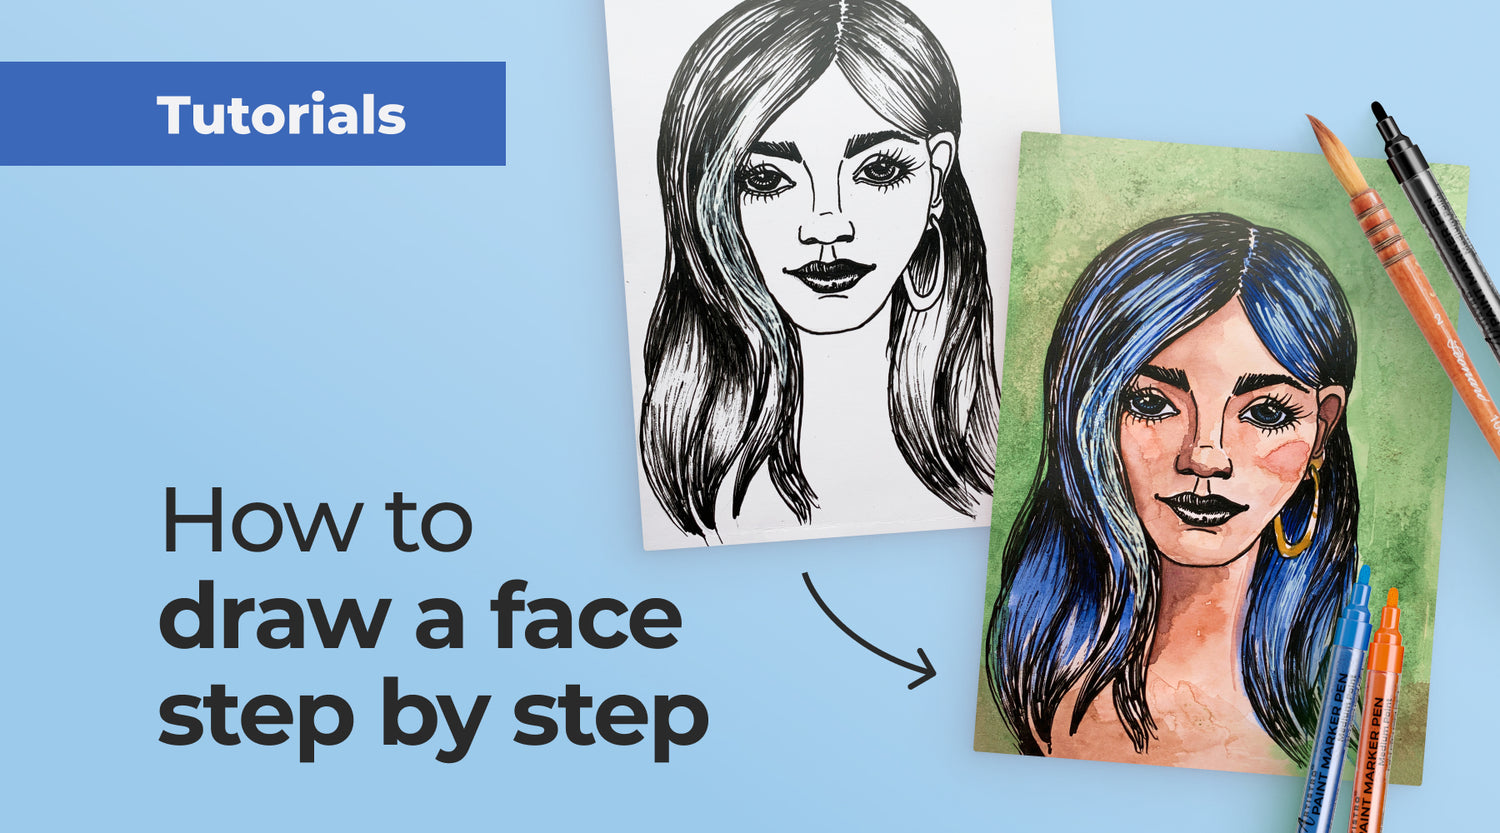
An introduction to portraiture can seem overwhelming at first glance. Is it possible to make face drawing easy? But if you look deeper, it turns out that the finished portrait consists of many small details. And these details are absolutely easy to master. This way everyone can find some easy faces to draw and then learn how to create a real portrait with some practice and desire. Here we will show you clearly how you can master face drawing step by step. It is enough to use our face drawing guide and purchase some basic art supplies.
Easy face drawing requires the following supplies:
1. Paper
2. Pencil
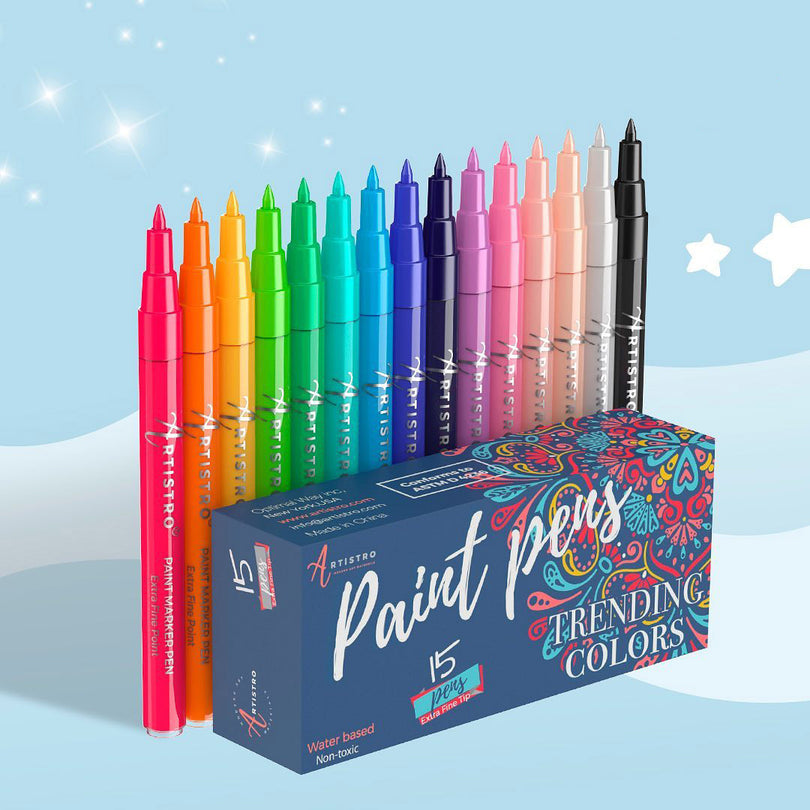
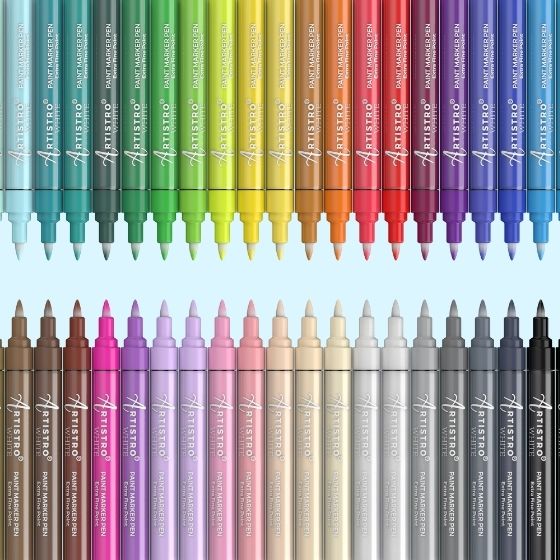
3. Black Artistro paint pens
4. Watercolor paints - optional
Face drawing guide, stage 1: Nose.
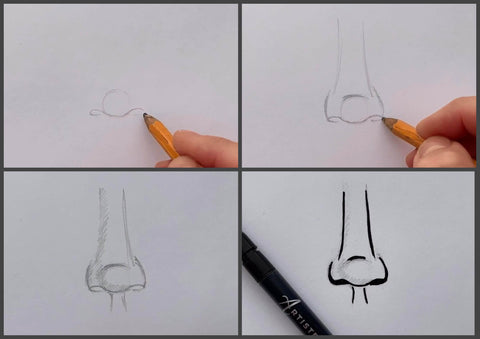
Mark a circle with a graphite pencil, and under it a wavy line - this will be the base of the nose. Above the base, add two semicircles, from where upwards draw two parallel, smoothly tapering lines - these will be the cartilages of the nose bridge. Add shadows with hatching and finish the hump of the nose. At the end, trace the outline of the nose with black marker.
Face drawing guide, stage 2: Mouth
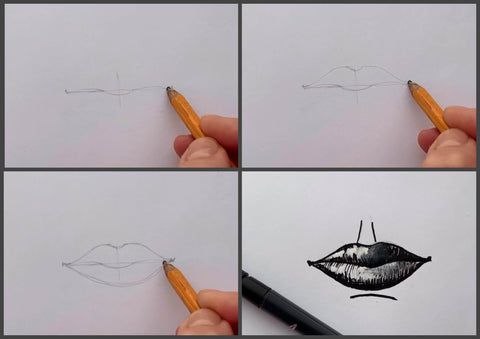
Trace two straight lines and cross them at right angles - they will come in handy as a blot. Along the horizontal line, with a graphite pencil, close two lines with a slight deflection up and down - this will be the opening of the mouth. Then draw a wavy line from above with a large amplitude and close it on the sides with the previous two - this will be the upper lip. In a mirror way, add a deep convex line at the bottom - this will be the lower lip. Then circle the lips with a black marker and add volume to them using dashed shadows.
Face drawing guide, stage 3: Eyes

Draw a horizontally flat ellipse with pointed corners and cut it in half to make the eyeball. Above the upper half, add another duplicate line - this will be the eyelid. Draw a semicircle inside the ellipse - this will be the iris of the eye. Inside the half circle add a smaller circle (pupil) and another tiny highlight. Outline all the elements of the eye with a black marker. Also completely tint the pupil, draw eyelashes and eyebrows.
Face drawing guide, stage 4: Hair and ears
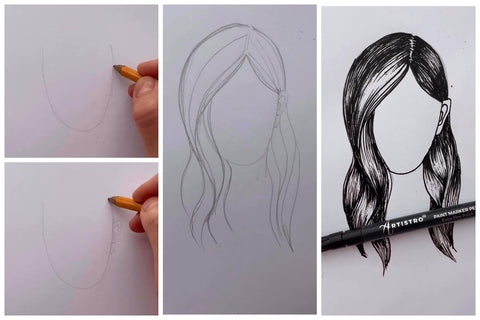
When choosing easy faces to draw, feel free to experiment with different hairstyles and hair colors. For comfortable work, first outline the boundaries of the oval-shaped face and finish the ears. This will allow you not to go beyond the boundaries of the workspace. From above, add a semicircle (this will be the back of the skull), from which a wavy skein line descends. From the inside of the face with a long wavy line, mark the inner borders of the strand. Below the right ear, also lower a wavy line, bounded by a concave neck line. Circle the border parts of the skeins with a black marker. Add random strands next to the main ones. Leave part of the hair unpainted - these will be reflections.
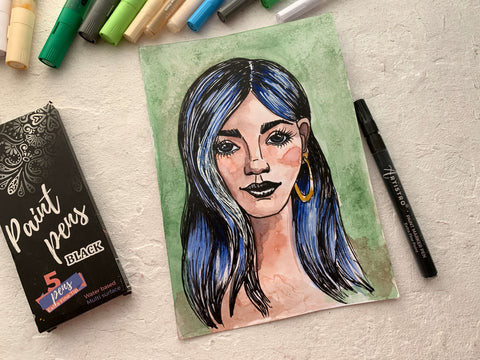
Face drawing guide, stage 5: Color the drawing with watercolors.
Use blue watercolor to fill the hair. The accents have already been made before with a black marker. To get a flesh color, mix red, yellow, blue with plenty of water. Paint over the face with the color you have. Apply a few extra layers of body paint using the glazing technique to accentuate the shadows. At the last stage, paint the background with green watercolors.