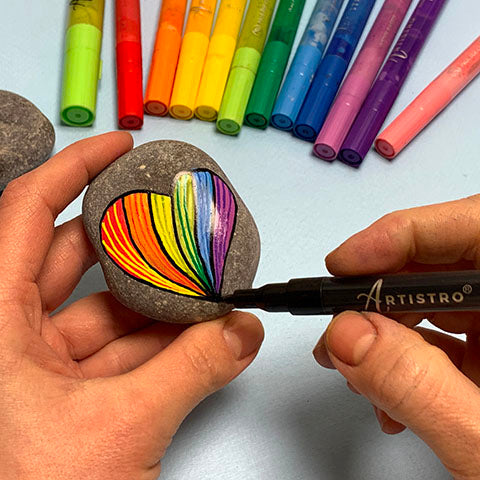


Glossy shine looks spectacular not only on the pages of fashion magazines; you can also decorate crafts in this way. The original rock painting on a glossy surface looks especially impressive. Refraction of light on the shiny surface of the rock makes the effect of volume and favorably emphasizes the small details of the artwork. This enhances the visual perception and adds elegance to the painting.
Once you've finished your drawing and the paint on the rock surface is completely dry, it's time to start thinking about how to make your masterpiece even more interesting.
To resin rocks you don't need to buy special complex supplies or expensive materials. You can do this yourself using a few simple tools that are at home in every household.

You will need the following materials to create a stunning shiny rock painting:
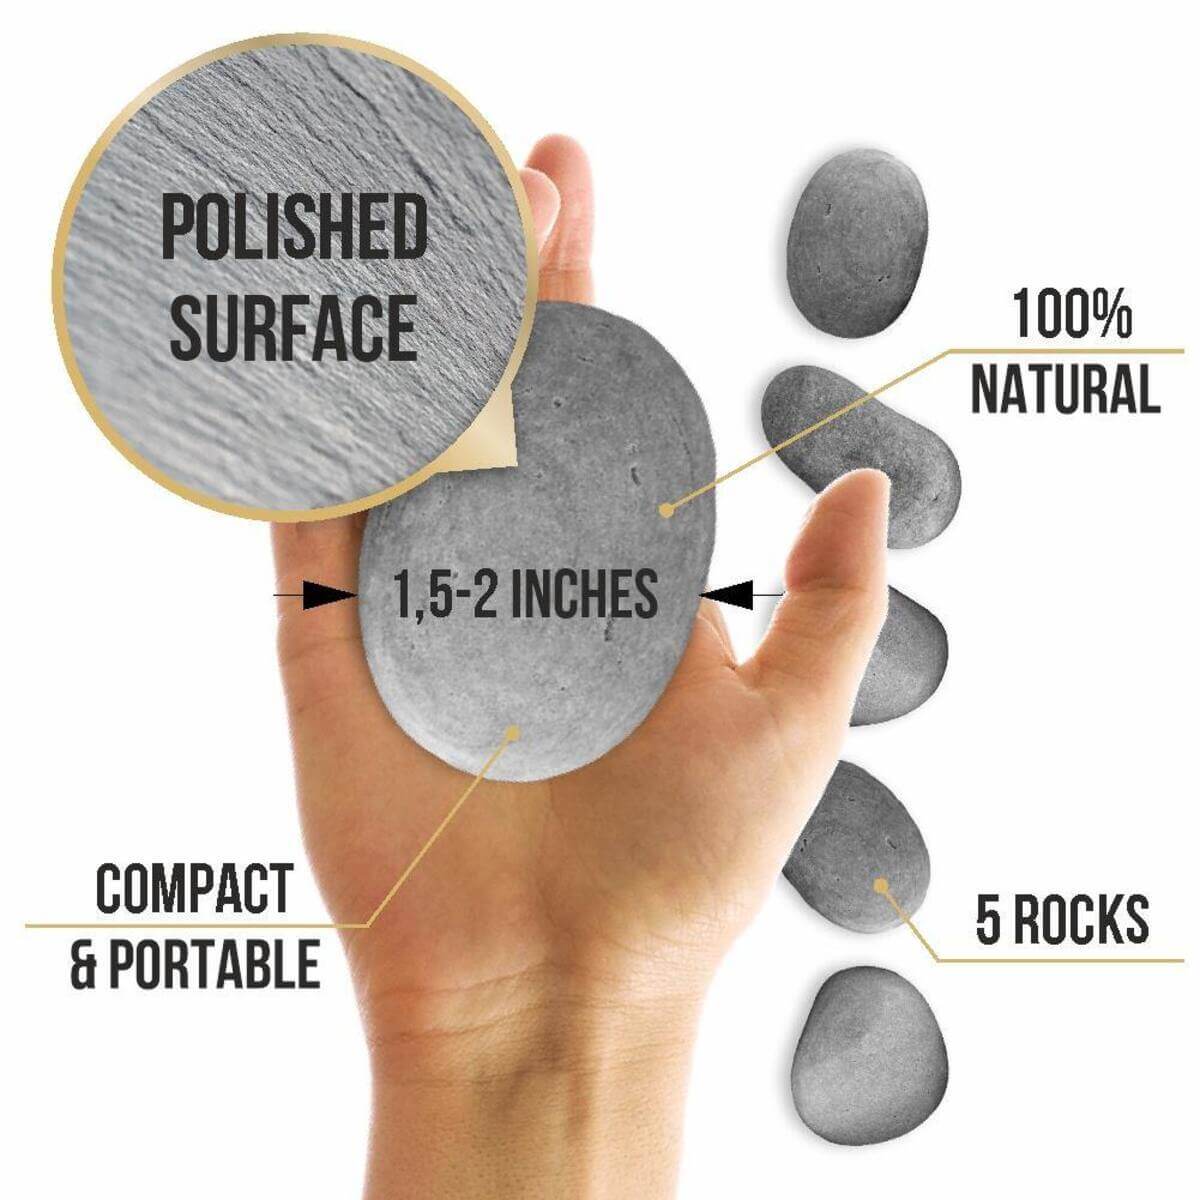
- a finished painted rock with a picture on it,
- art resin and hardener,
- a plastic or glass container,
- a sponge,
- toothpicks,
- cellophane wrap,
- gloves (latex or reusable household ones).

The easy way to seal a rock design with resin at home
Preliminary preparation. First, prepare for the work ahead. Remove any items that might disturb you from the table and cover your work area with cellophane wrap. Then, put on your gloves and prepare all the necessary materials so that you have them on hand. Since resin is a sticky material that is very difficult to remove from fabrics, be especially cautious while working with it.
Take note! First, make sure that the rock is perfectly clean; there are no specks, dust particles, or spots on its surface.

1. The first step is to prepare a sealing substance. To do this, mix equal proportions of resin and hardener. Add them in the equal ratio of 1: 1 in a plastic container and stir thoroughly until you see specific bubbles formed. This usually takes about 3 minutes. After that, leave the formed mix to settle for 10 minutes.

2. Pour the prepared liquid onto a completely dry stone. When you seal rocks for painting, but do not wait until the stone is completely dry, bubbles can form on its surface. Lather the rock on all sides with a thin layer of this mix with your hands. Try to distribute the liquid as evenly as possible.
Take note! Remember to wear rubber gloves and cover the work area with cellophane before starting work.

3. The last step of our resin rock tutorial is to place the resin-treated stone to dry. To do this, prepare a special stand: stick a few toothpicks into the sponge along its perimeter and in the center of it to form the so-called hedgehog. Place a resin-treated rock on top of this hedgehog and protect it with a container from dust settling. The stone treated in this way must be dried for at least 6 hours.
Once the rock is completely dry, your stunning shiny masterpiece is ready!

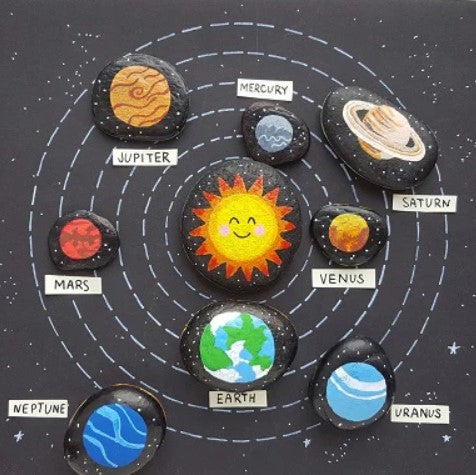
Such a simple and budget-friendly rock sealing is available for use by absolutely everyone. Even if you don't plan on spending any money on your creativity, you can always make a composition with painted rocks and seal them with resin for a great glittering effect. This effect looks impressive and attractive, emphasizing the artist's skill.
What other ways of sealing a stone do you know besides the resin rocks method?