


Table of Contents:
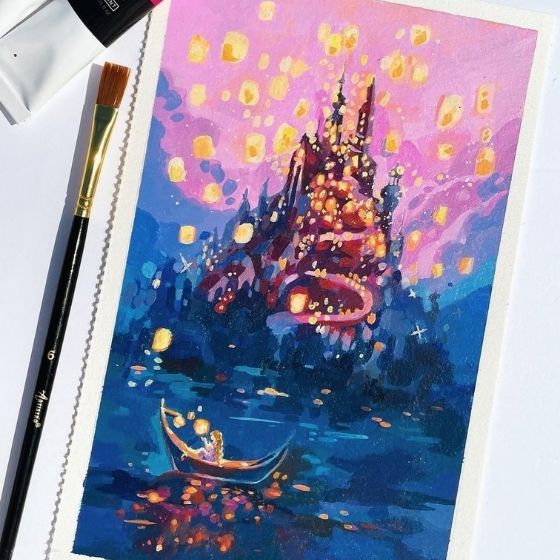
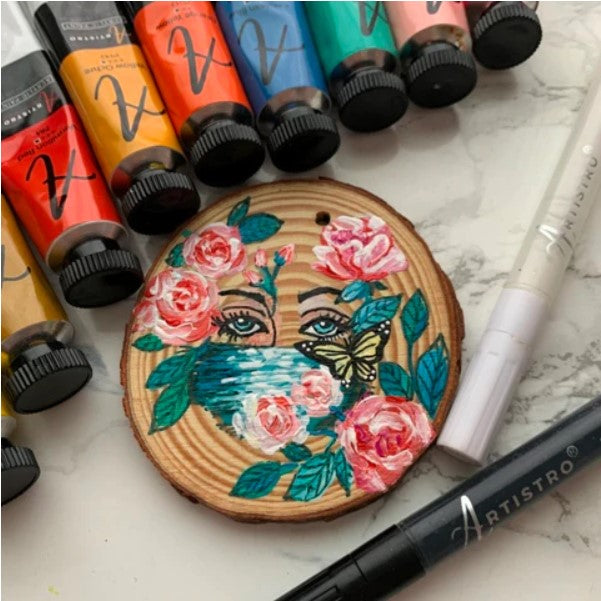
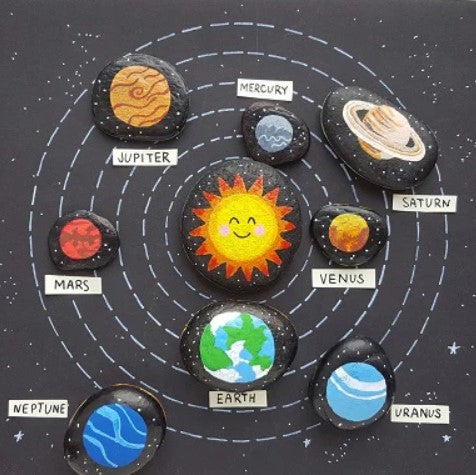
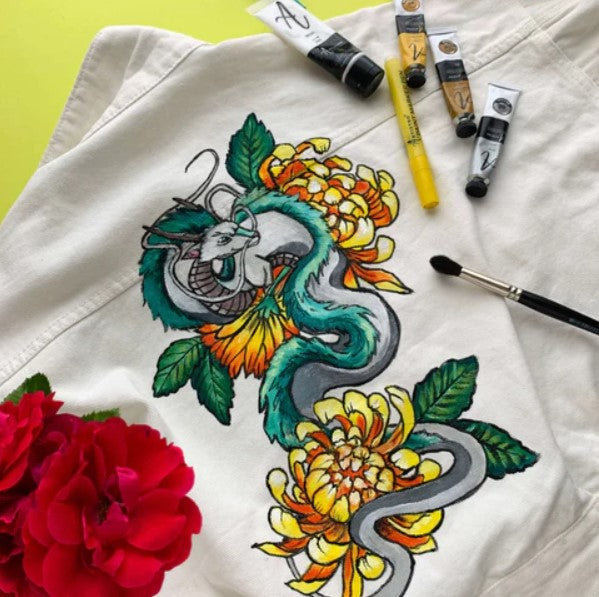
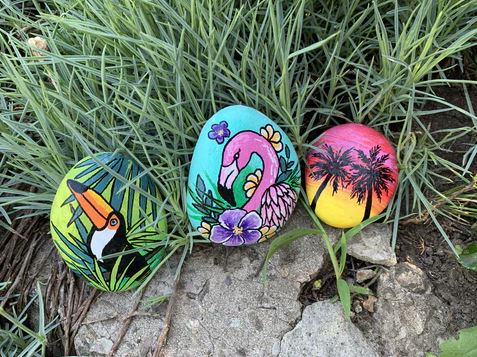
Stone painting is an elegant way to express yourself by creating unique crafts for home and garden decor. Release your inner creative energy and dive into a state of meditation while painting to create new pictures and images. Discover 100+ new stone painting designs with Artistro!
How to Prepare Rocks for Painting
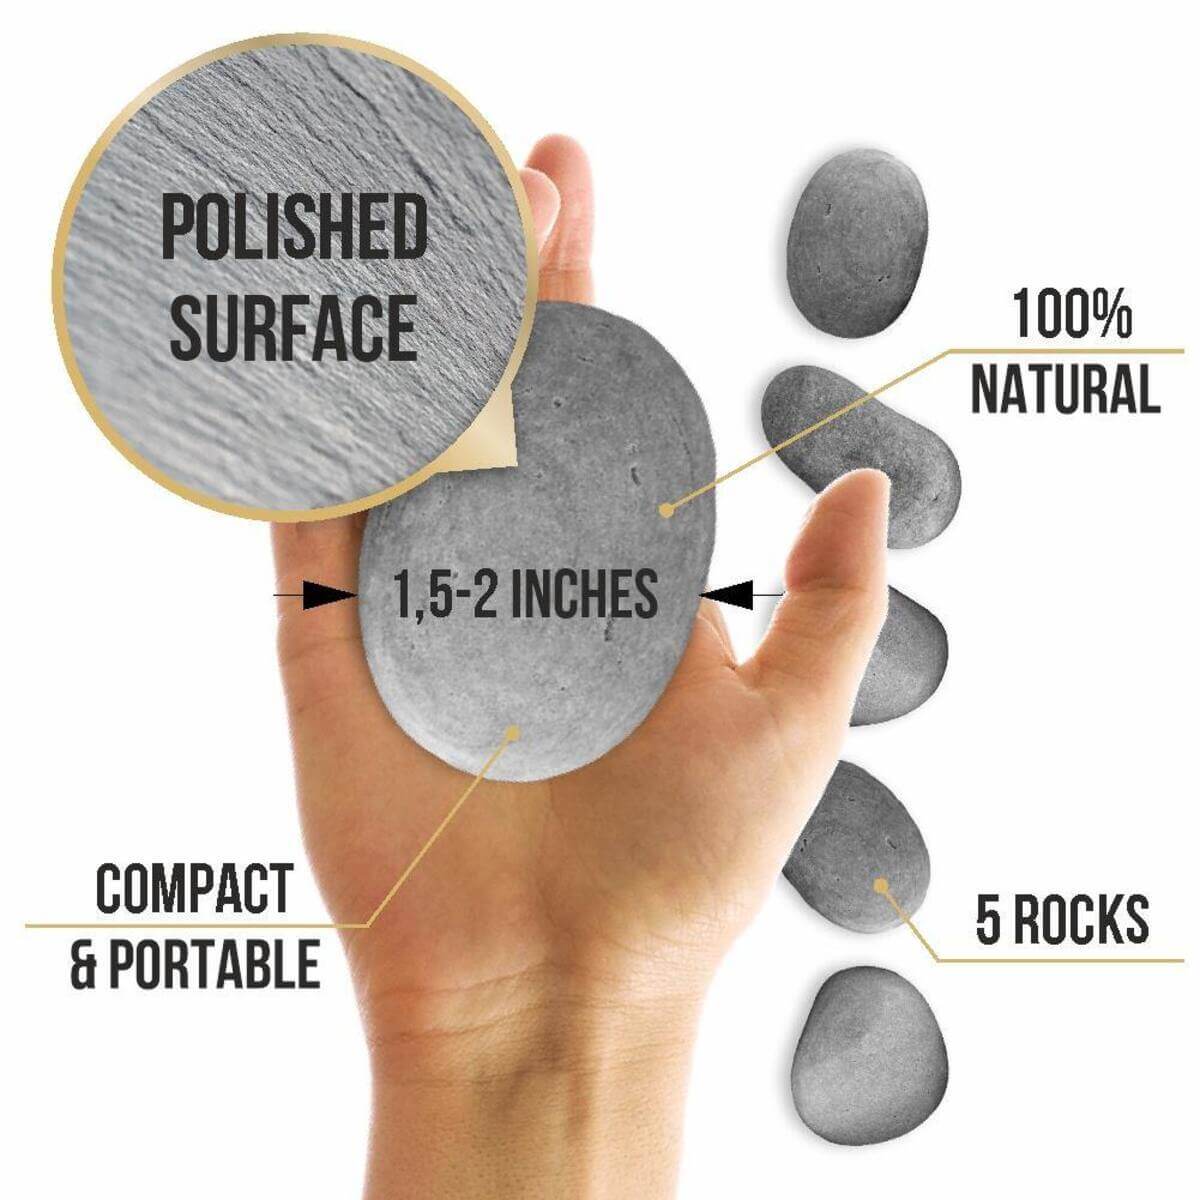
The best choice for painting on rocks is sea pebbles, so don't forget to replenish your stock of painting supplies the next time you go on a seaside vacation.
Criteria for choosing rocks for painting are as follows:
Some final rock painting tips:
Not all artworks require perfectly flat and smooth stones. If you find a stone with a bizarre shape, do not immediately discard it. Perhaps later you will have a fantastic idea for how to paint this particular unusual stone. Check out these 100+ easy things to draw for inspiration!
When you work with stones found in your area, take extra time to rinse, disinfect, and dry these stones first.
How to Paint Rocks Using Materials at Hand
The main advantage of painting stones is the opportunity to create crafts without having almost any materials. The only thing you need is paints and brushes; you can literally find the canvas needed for the piece in your yard.

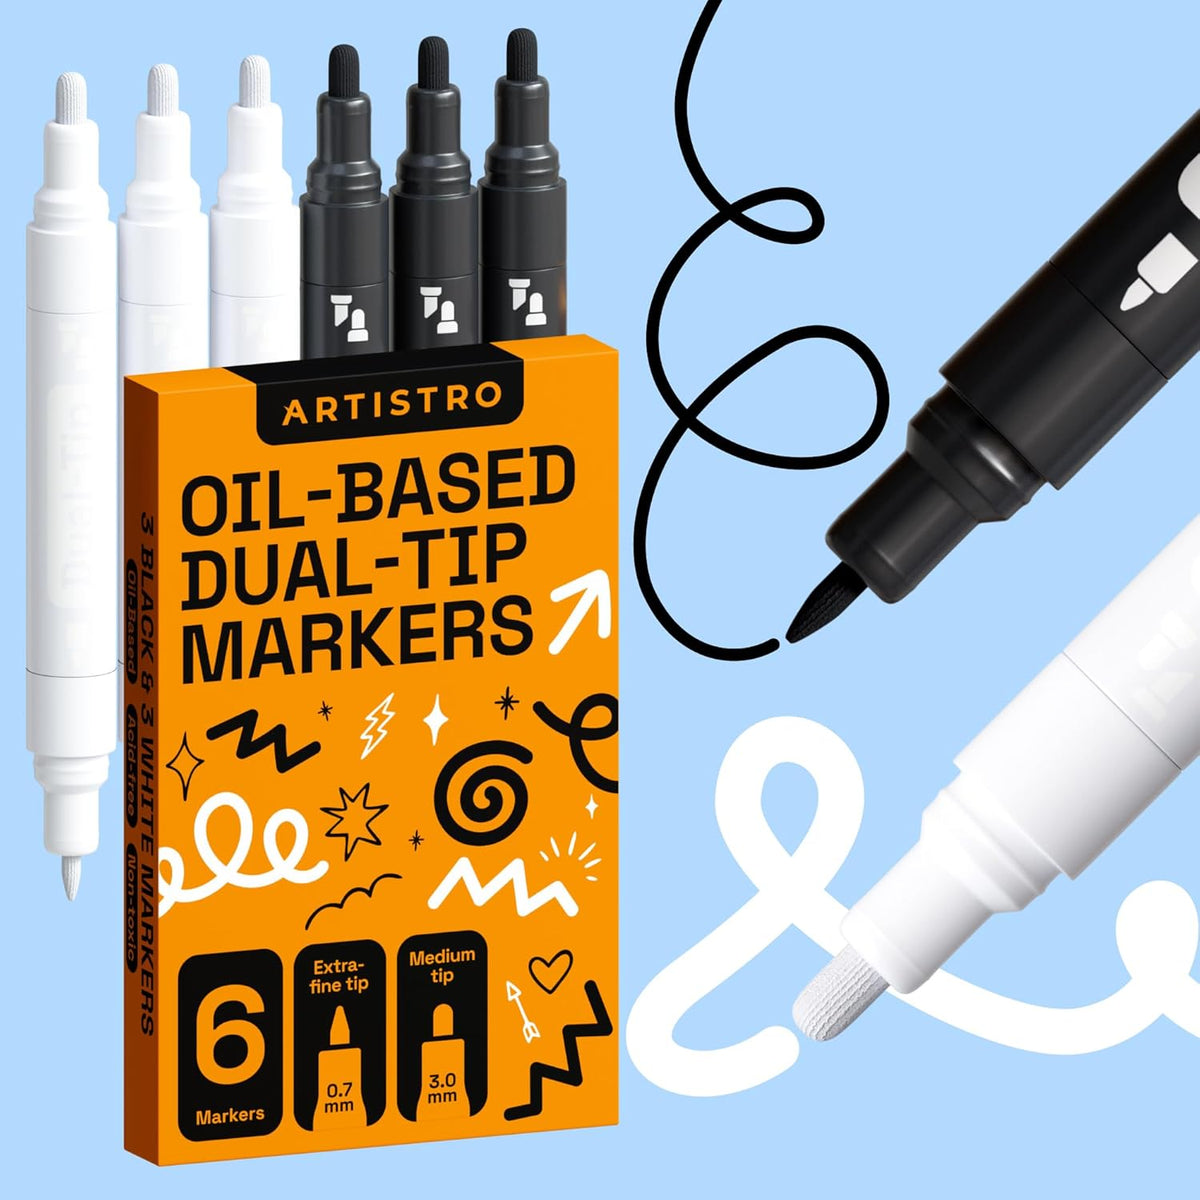
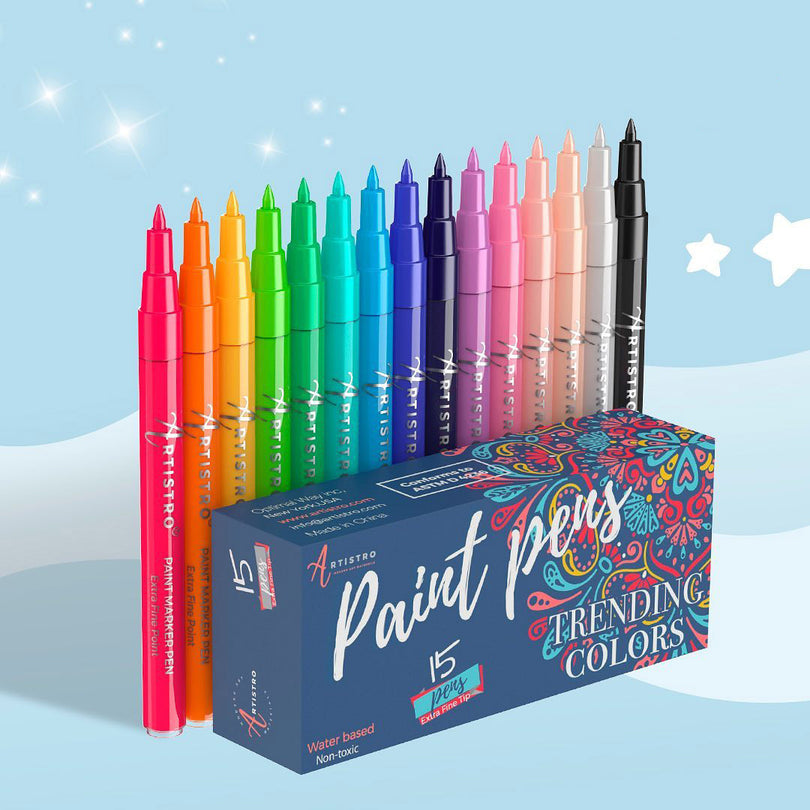
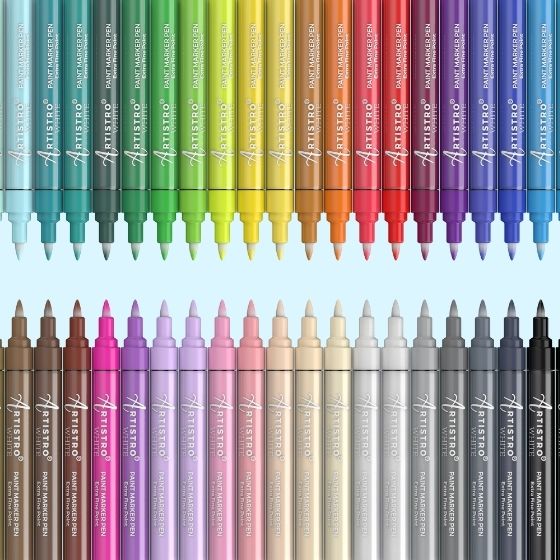
To paint rocks you will need:
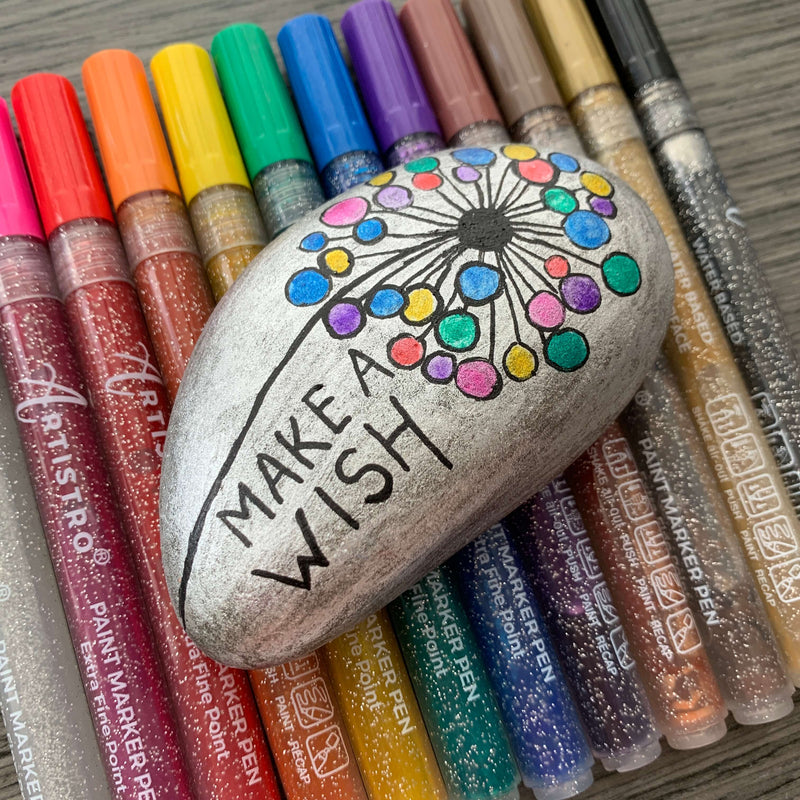
The best way to paint rocks is to use a thin brush and acrylic paint. Acrylic paints dry quickly, and after a few minutes, a new coat can be applied over the previous one. You will definitely need a thin brush for painting small details. Large brushes are required only when working with large rocks.
Applying primer and varnish are optional. It depends on whether the texture of the stone requires it and whether you want to seal the drawing with varnish at the end.

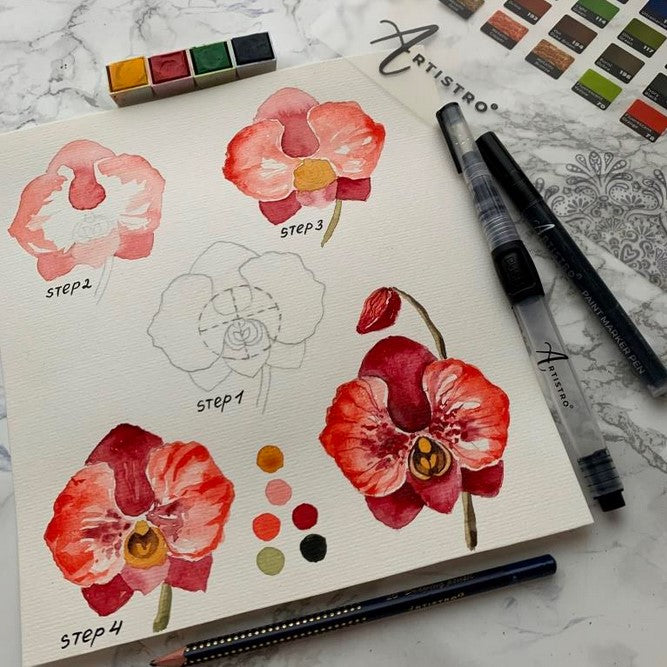
How to Paint Rocks Step by Step
Stone painting process always starts with the preparation of the stone itself. If you picked up a rock from the ground, you must rinse it thoroughly with soapy water and dry it first. If you are using rock with a smooth and even surface, then no preliminary primer is necessary. But if you come across a chipped stone, then first you need to prime its surface.
- Priming the stone if necessary. You can use a store-bought primer or make your own. A homemade primer can be prepared by adding glue and water are to your acrylic paints in equal proportions. Stir this mixture and your primer will then be ready.
- After the primer has dried, create a sketch of the drawing. It is best to use a simple pencil to draw your sketch. Experienced artists may be able to do without sketching first.
- Drawing contours. It is important to draw the contours of the image accurately for greater precision. When working with a small rock, you may not be able to do a complete sketch, but you can at least draw outlines.
- Paint the entire surface of the rock with the chosen color. If necessary, you can dilute acrylic paints with water a little.

- Painting pictures. Depending on the color scheme of the picture, gradually paint over all the small details with the appropriate color.
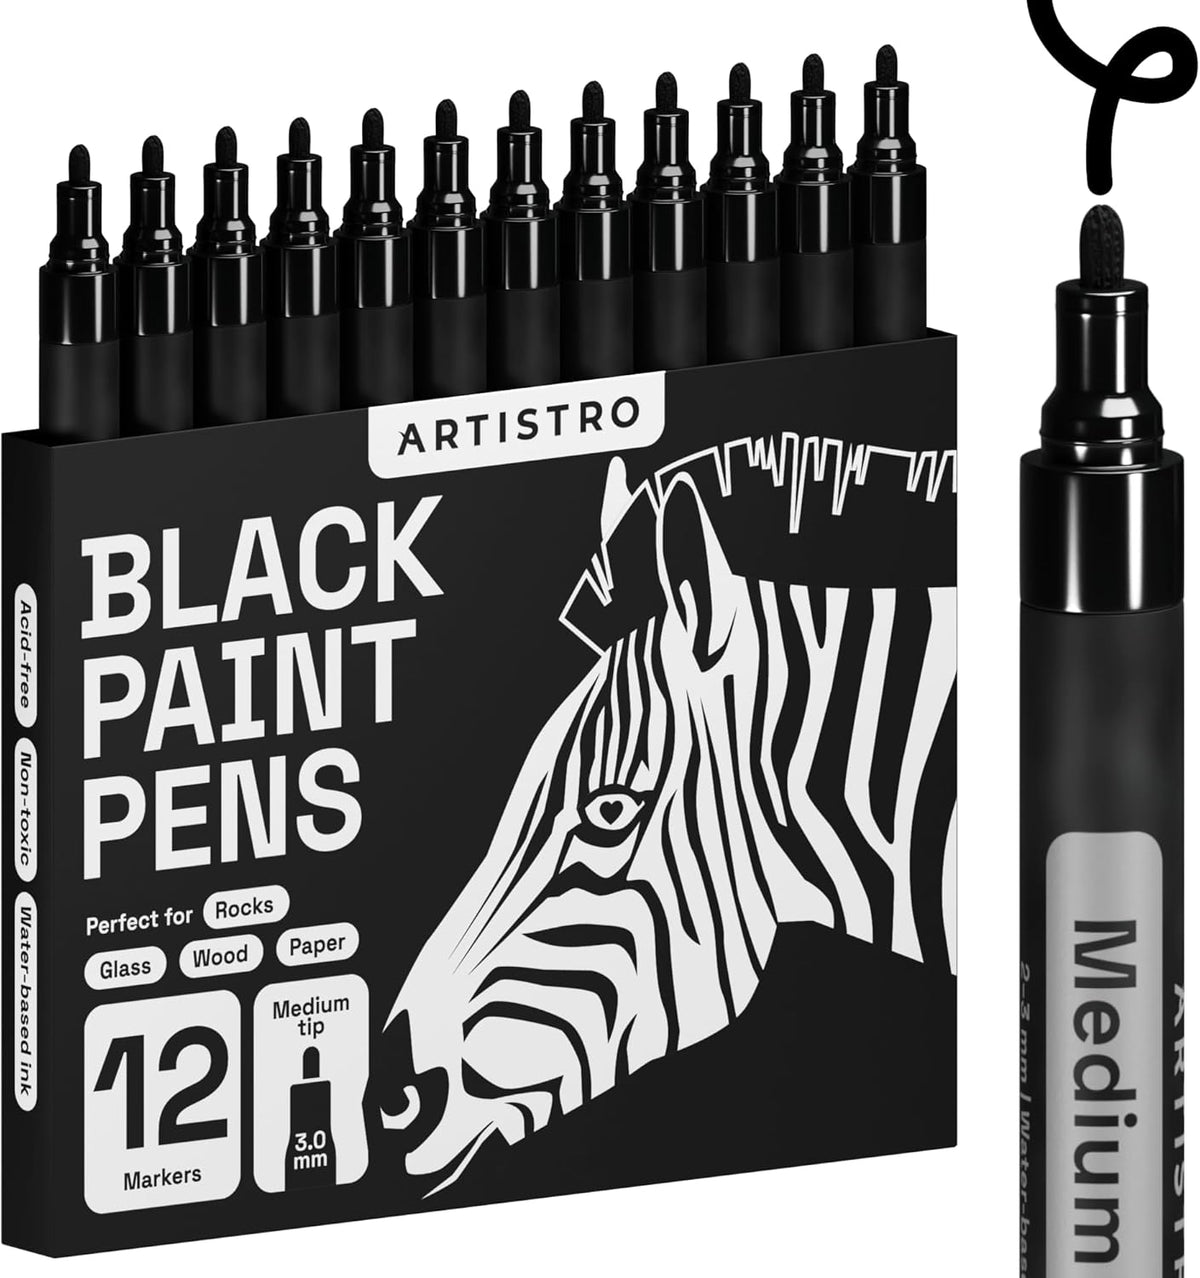
- Trace the outline of the drawing with a black marker to highlight it. This will add volume to the drawing and accentuate small details.
- Let the rock dry. Wait for the paints to dry completely before moving on to the next step.
- Varnishing is the final stage of the rock painting process. To secure the picture from the elements, cover the stone with varnish and let it dry. Varnish not only makes the drawing permanent, but also gives the image a spectacular shine.
Where to use completed stone painting?
When you have finished a beautiful rock painting, what can you do with it after? Your garden or suburb is a great place to showcase your creativity. Besides that, there are many other options for installing your crafts.
Here are just a few ideas:

Making Artificial Stones for Stone Painting Master Class
Recently, house cladding and interior decoration with natural or artificial stones for crafts has become very popular. In addition to external finishing works, various types of natural stone are used for interior decoration of the premises, which create comfort and decorate the house.
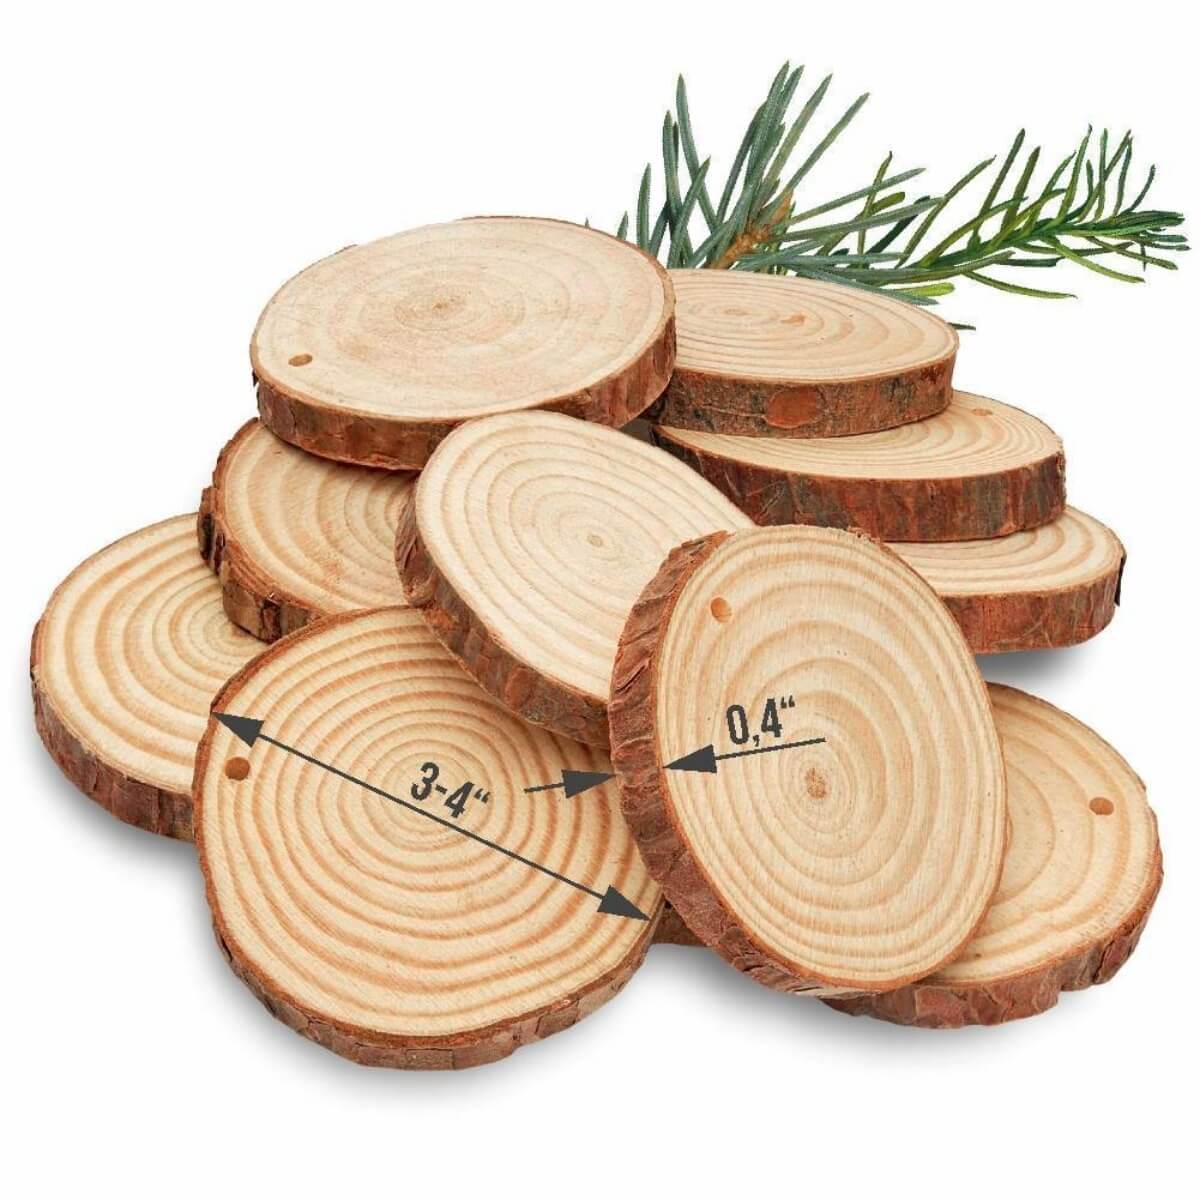
Can't find a suitable stone for rock painting? We have a solution for you: make it yourself or buy a ready-made Artistro rock set! Making a decorative stone at home is a great way to create an original canvas for stone painting, learn something new, and also get exactly the material that will delight you for many years.

Types of Artificial Stones
Such flat rocks for stone painting and claddings withstand moisture, sun and other destructive factors well and at the same time look very impressive and modern in the interior.
If you can't decide where to buy rocks for stone painting, you can always make a few by yourself. Artificial stone is easy to make at home. No special tools are required for its manufacture, and materials can always be purchased at the nearest hardware store. Cement is used for external outdoor works, gypsum for internal cladding.
How to Make an Artificial Decorative rock for stone painting
You will need:
Be sure to use a respirator or face mask while working, as the building powder penetrates the respiratory tract very quickly.

Artificial stone production process
The Artificial stone production process includes the following steps:
- Determine how much gypsum or concrete is needed for one stone mold. If you fill in 5 molds at once, then the mix is made at once for all molds. The first fill can be done approximately, then weigh the same amount of material for subsequent fillings.
- Prepare water in a ratio of 1: 1 to the measured weight of gypsum. It is important to pour powder into the water, not vice versa. A plastic construction bucket is suitable for mixing.
Water can be colored beforehand. To get different types of color intensity, different amounts of iron oxide pigment are used. For example, to get a gray color, pour a little black dye into the water.

- Artificial stone is mixed with a drill with a special drill bit. Dry powder is gradually added to the water, beaten with a drill at low speed. This will prevent the mix from becoming lumpy.
- After mixing the solution, carefully pour it into the molds, filling them to the top and leveling with a spatula. It is important to set the molds on a very flat surface.
- After about 15-20 minutes, the completed stone tile can be removed from the mold. It will take a little longer if you add sand or plasticizer to the mix.
- Drying. The completed stone should be air dried or you can use a hair dryer instead.
Making an artificial rock for stone painting with your own hands is available to everyone and is a rather exciting creative process. You can make yourself best stones to paint by changing the formula for creating subsequent stones by adding fine sand or gravel to the gypsum in a ratio of 1.5: 1 to gypsum or 3: 1 to cement, where for one part of cement is taken 3 parts of sand and for one part of gypsum 1.5 parts of sand respectively. Also note that the mix with sand hardens a little longer than pure gypsum.
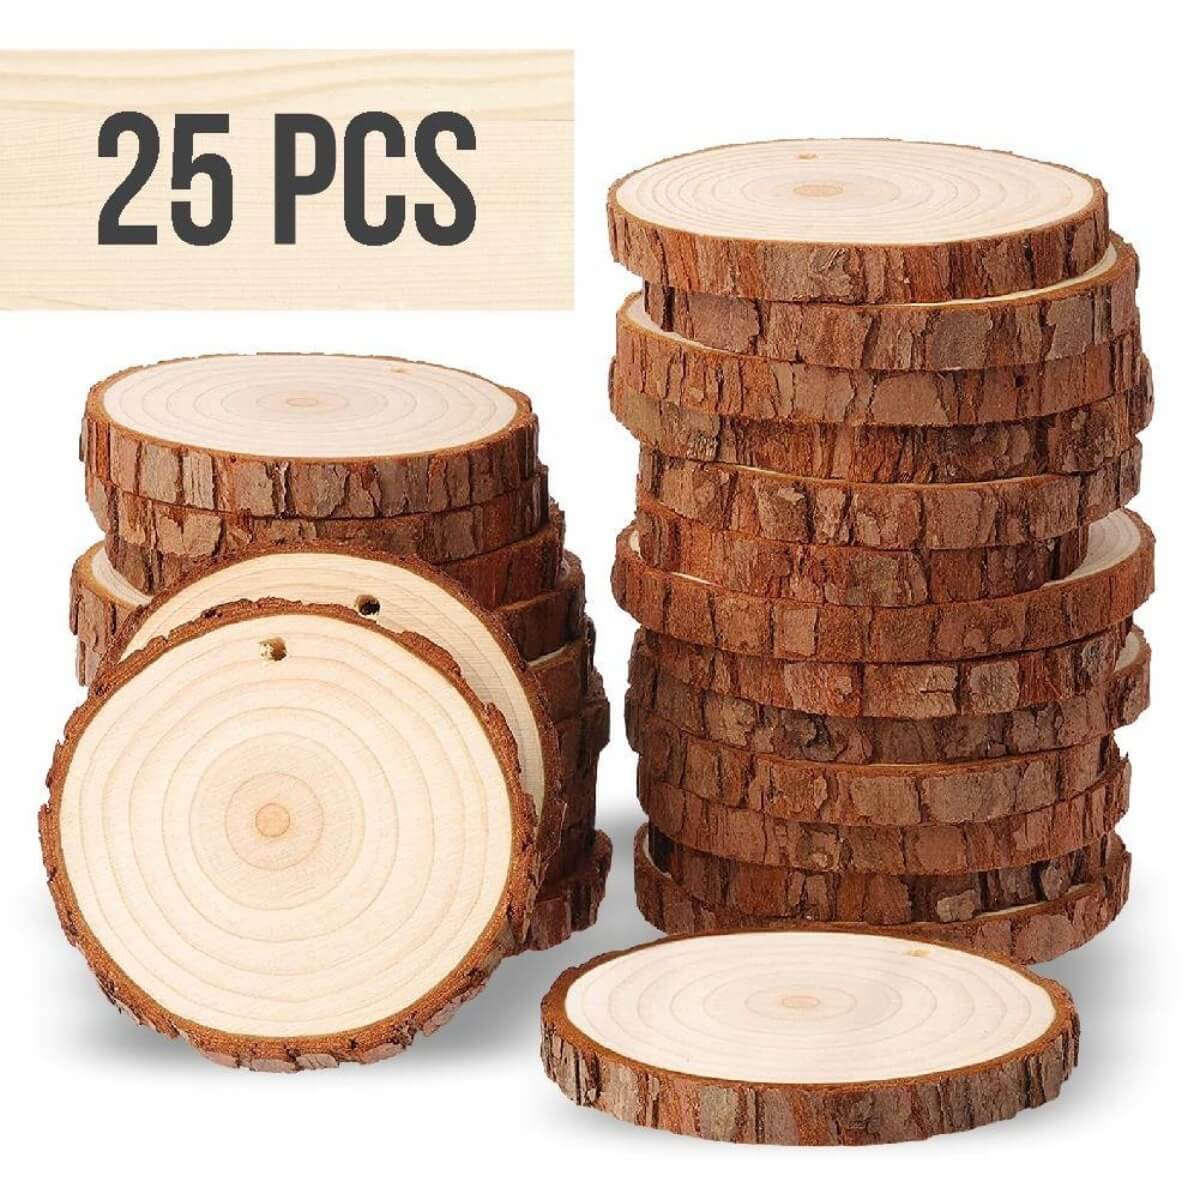
Where to get Rocks for stone Painting

If you could not find the right stone for the intended pattern, and you do not have time to make artificial stone at home, you wonder where to buy rockstones to paint. Since we are artists ourselves, we understand how important it is to have the right artistic tools. Therefore, we have prepared for you several options of high-quality stones for painting and crafts.
Making a decorative rock for stone painting at home is a great way to create an original canvas for rock art, learn something new, and also get exactly the material that will delight you for many years. And painting an artificial stone with your own hands is also a creative process. After all, you create each stroke and come up with the concept of the painting yourself. We look forward to seeing your new artwork done with our products or homemade stones!