


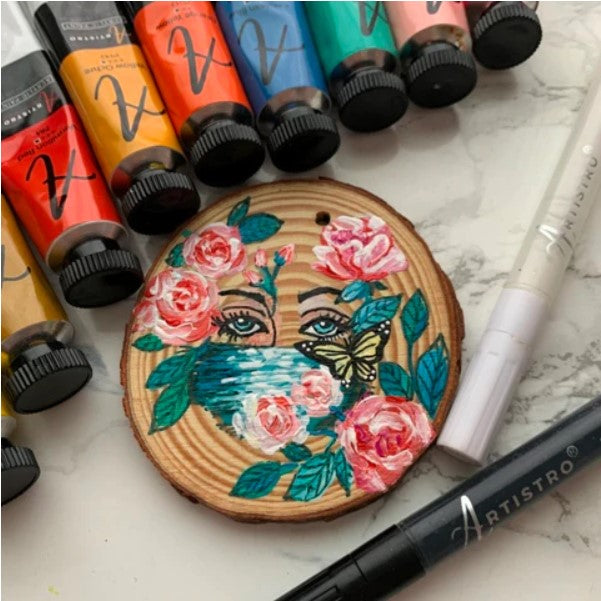


Crafting pieces of art can be not only an enjoyable and relaxing experience, but also an environmentally friendly hobby. If you love nature and forest walks as much as we do, this eco-friendly picture frame guide is exactly what you were looking for.
For this project you will need:

Preparatory stage. Start by preparing the required amount of work material. To do this, collect well-ripened cones in the forest. Make sure that the pine cone is open on top, so you can get the effect of a blossoming flower on your future crafts with pine cones. The number of pine cones you need depends on the perimeter of the photo frame you want to place them on later. Try to choose buds that are roughly the same size, this will help keep your pine cone picture frame even composition tone. Grab some spare pine cones so you can practice before starting work.
After that, carefully clean the cones from debris, trapped blades of grass or leaves, and use a small brush to get rid of the debris inside the pine scales. The working material must be clean and dry before starting treatment. Since the pine cones processing process can cause some garbage and dusty work, it is recommended to cover your work area with a plastic bag or old newspaper. Prepare all the necessary supplies in advance so that you do not have to be distracted in the process of creating a pinecone picture frame. Since acrylic paint dries quickly, and you need to glue the cones instantly for a better fixing effect, you definitely need to have all the materials at hand and not be distracted by looking for another staff in the midst of work.


1. Take the prepared pine cone, measure out the bottom layer of the scales, and cut off the upper part with pliers. This will form a flower bud from the base of the pine cone.
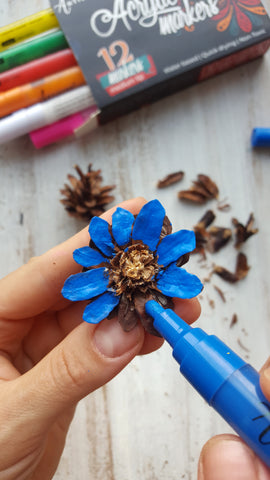
2. Paint the formed pine flower with a bright color using the desired marker color. Wait a few minutes for the ink to dry completely.

3. Continue working according to steps 1 and 2 until you have collected the required number of similar cone flowers, enough to cover the perimeter of the frame with a dense thread of these blooming picture frame ornaments.

4. Put a few drops of all-purpose glue on the base of the cone and instantly glue it in the desired place along the outline of the frame. Remember to press down on the cone firmly at the first contact to ensure a secure grip between the frame and the pine cone. Be careful to prevent any glue from spilling onto any frame or table. Continue to work until you decorate the entire perimeter of your frame in this way.
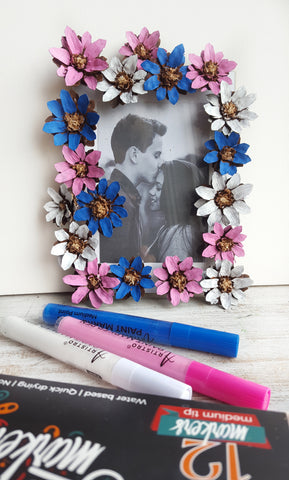
Your blooming pine cone picture frame is ready!