


Let's start our lesson and learn how to draw a rose step by step with pencil slow and easy. This tutorial will differ from the previous ones precisely in that we will not consider the process of painting over the final drawing, but its simple hatching with a graphite pencil.
Prepare in advance the art supplies that you will need for this drawing:
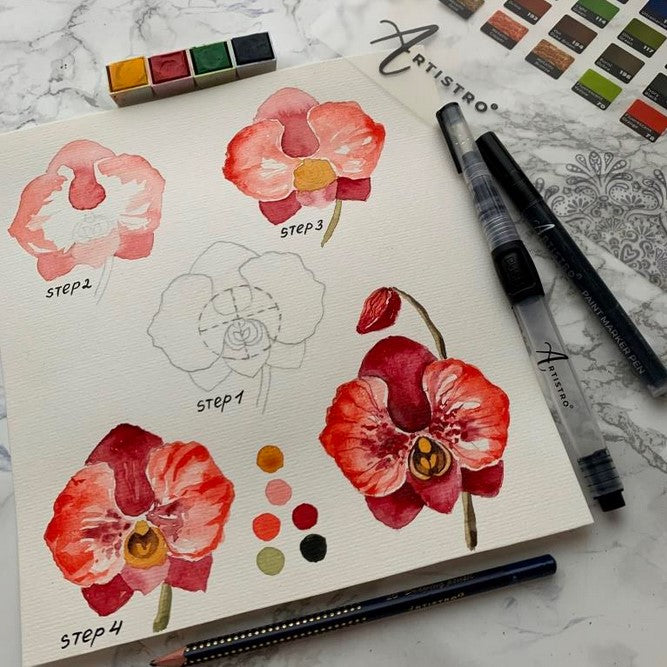
How to draw a rose step by step easy
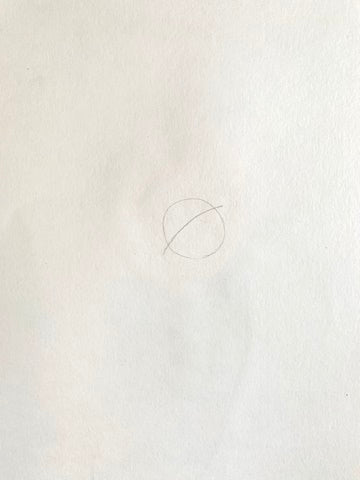
1. This simple rose drawing step by step starts with basic elements: draw a circle and cross it out with a slightly rounded line almost in half, as shown in the picture above.
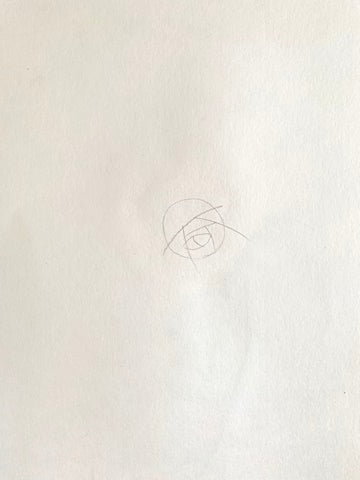
2. From the base centerline, draw a few curled lines at an angle of about 45 degrees. Then fill the space between them with random lines, adding a flat oval in the shape of an eye inside - this will be the center of the rose inflorescence.
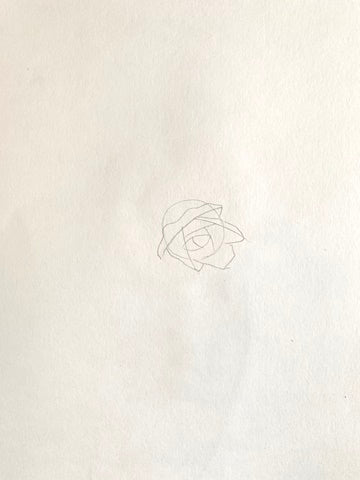
3. When you draw a rose step by step, do not try to make perfectly correct and even shapes, but give free rein to your fingers. Thus, you will get smoother and more natural curves of the petals of the inflorescence. Round off the lines created in the second step and close them with random smooth, slightly rounded strokes to get curved petals.

4. Add two wider petals on top, making them cover the inner bud. The best way to master rose drawing easy step by step is to start practicing with a ready-made rose in full bloom: in this case, you will have room to maneuver if you make a mistake.
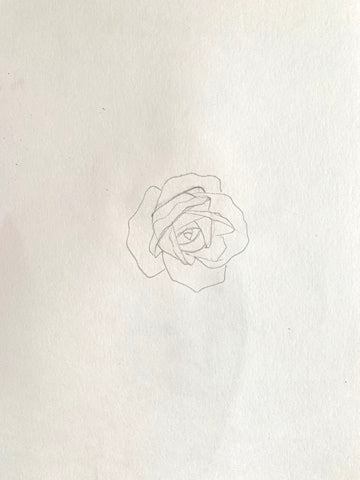
5. Then add two more large, wide petals at the bottom, completing the third outer row of the rose inflorescence. There's a secret you need to know before you start to draw a rose step by step: the more random and irregular petals you draw, the more natural and lush the rose will turn out.

6. Continue to draw a rose step by step by adding the next row of petals. This will add lushness to the flower, creating the effect of a fully opened bud.
How to draw a rose with pencil step by step: final hatching
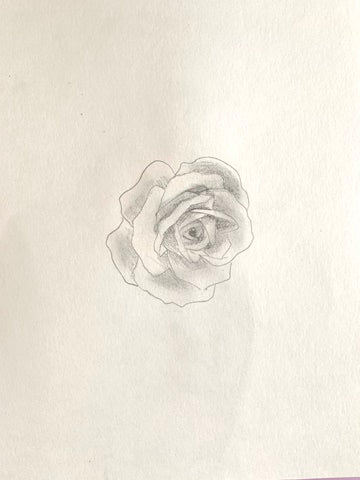
7.For hatching, use a soft pencil, if necessary, remove excess lines with an eraser. Draw lines smoothly without pressing too hard on the pencil. Proceed in stages: first shade the inner rose petals with a base layer, and then continue shading outside, moving in a circle.

8. After applying the first layer of pencil, add accents with darker shading in the right places. Apply a dark shade to the rose petals where the shadows fall. This will give the rose the necessary volume and splendor.
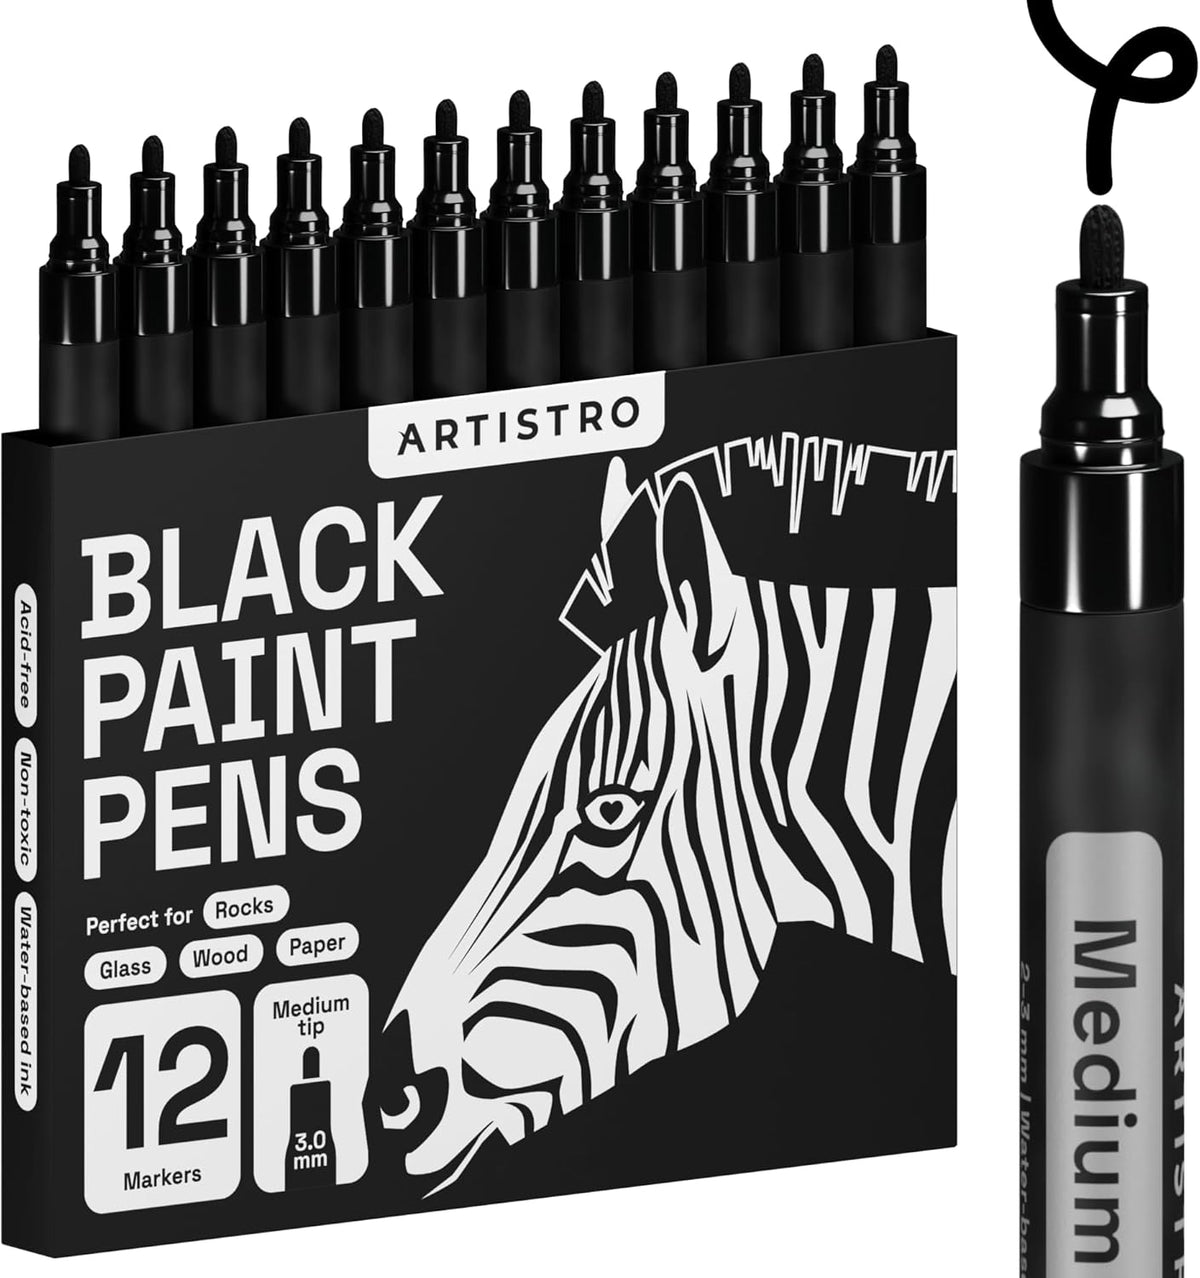
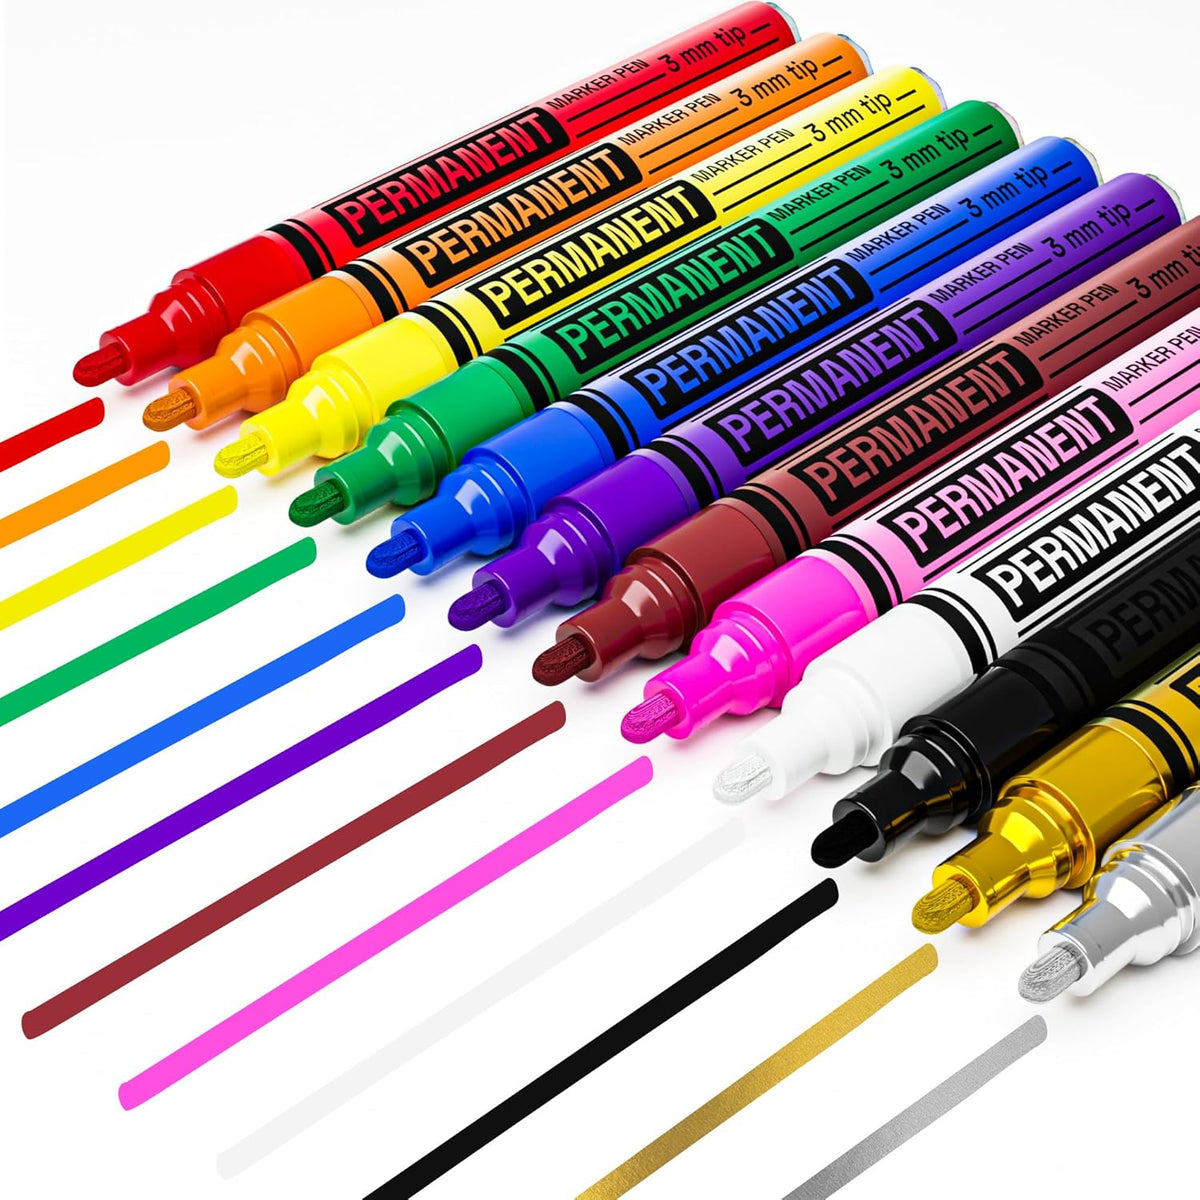
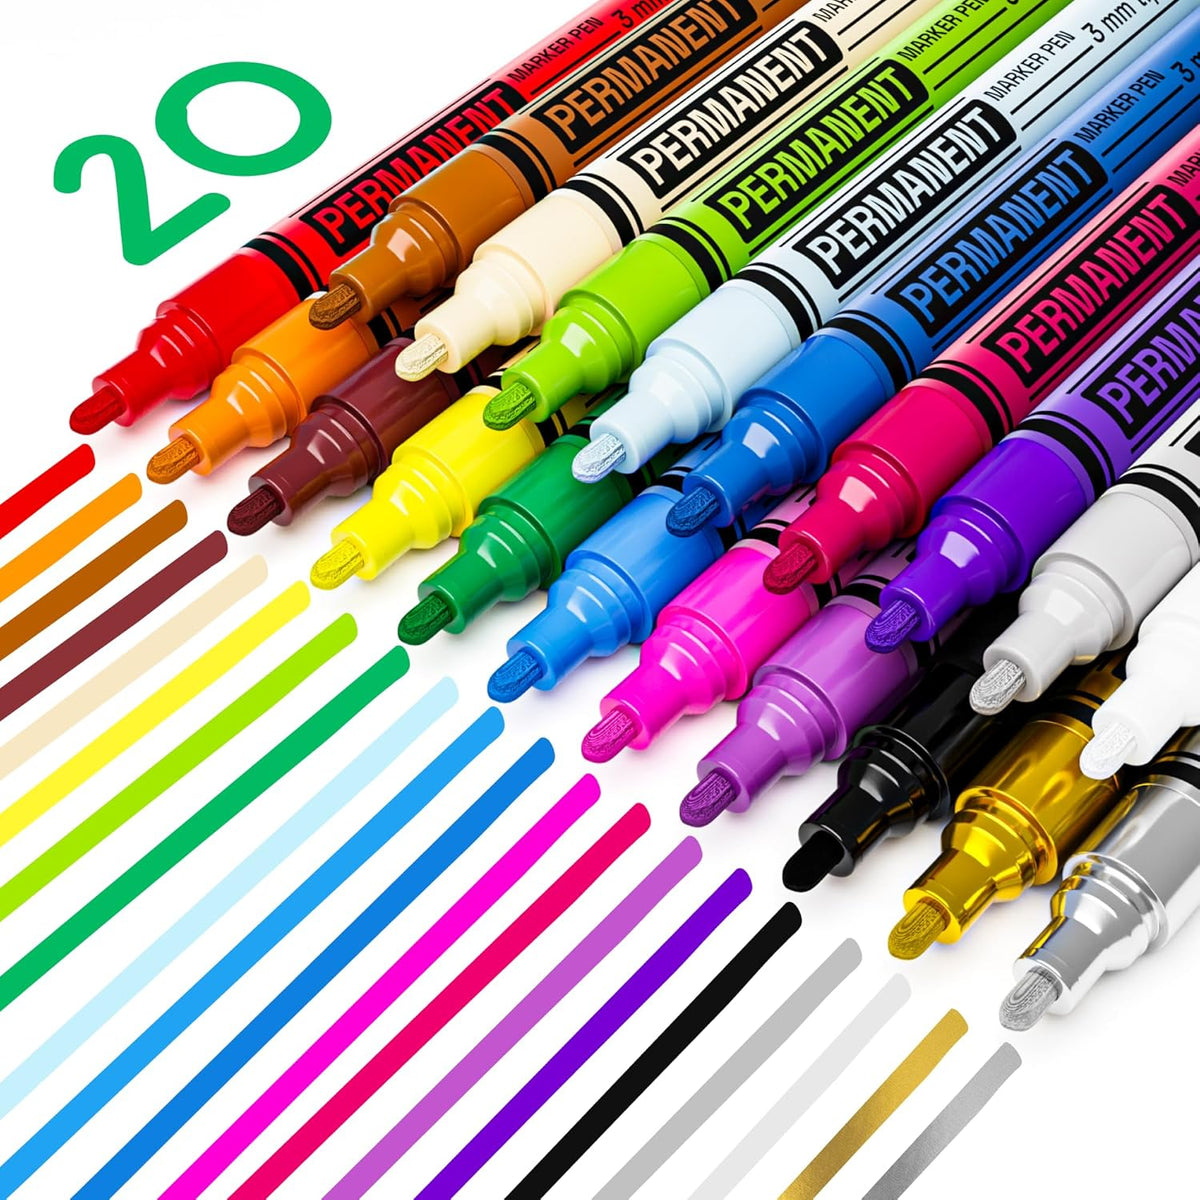
That's how to draw a realistic rose step by step by hatching a drawing with a graphite pencil. If desired, use acrylic markers to trace the rose bloom and give it more volume.