

Table of Contents:
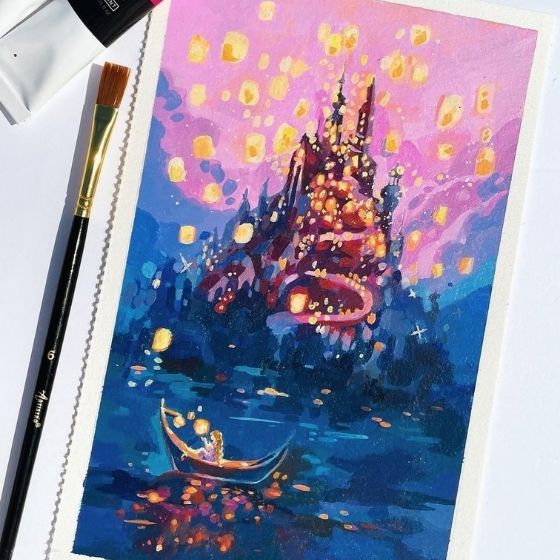
A gradient is a smooth transition from one color to another. Combining colors allows you to create a new hue and make a beautiful transition, adding depth to an object or background. This is an ocean of possibilities for creativity!
Experiment with gradation: make separate projects or add a gradient as a background for your main picture.
When you want to start to blend markers, although it looks very simple, it doesn't always work out perfect the first time. Sometimes the result is a rough dividing line, streaks or dust adhesion.

Here are some rules for blending with markers
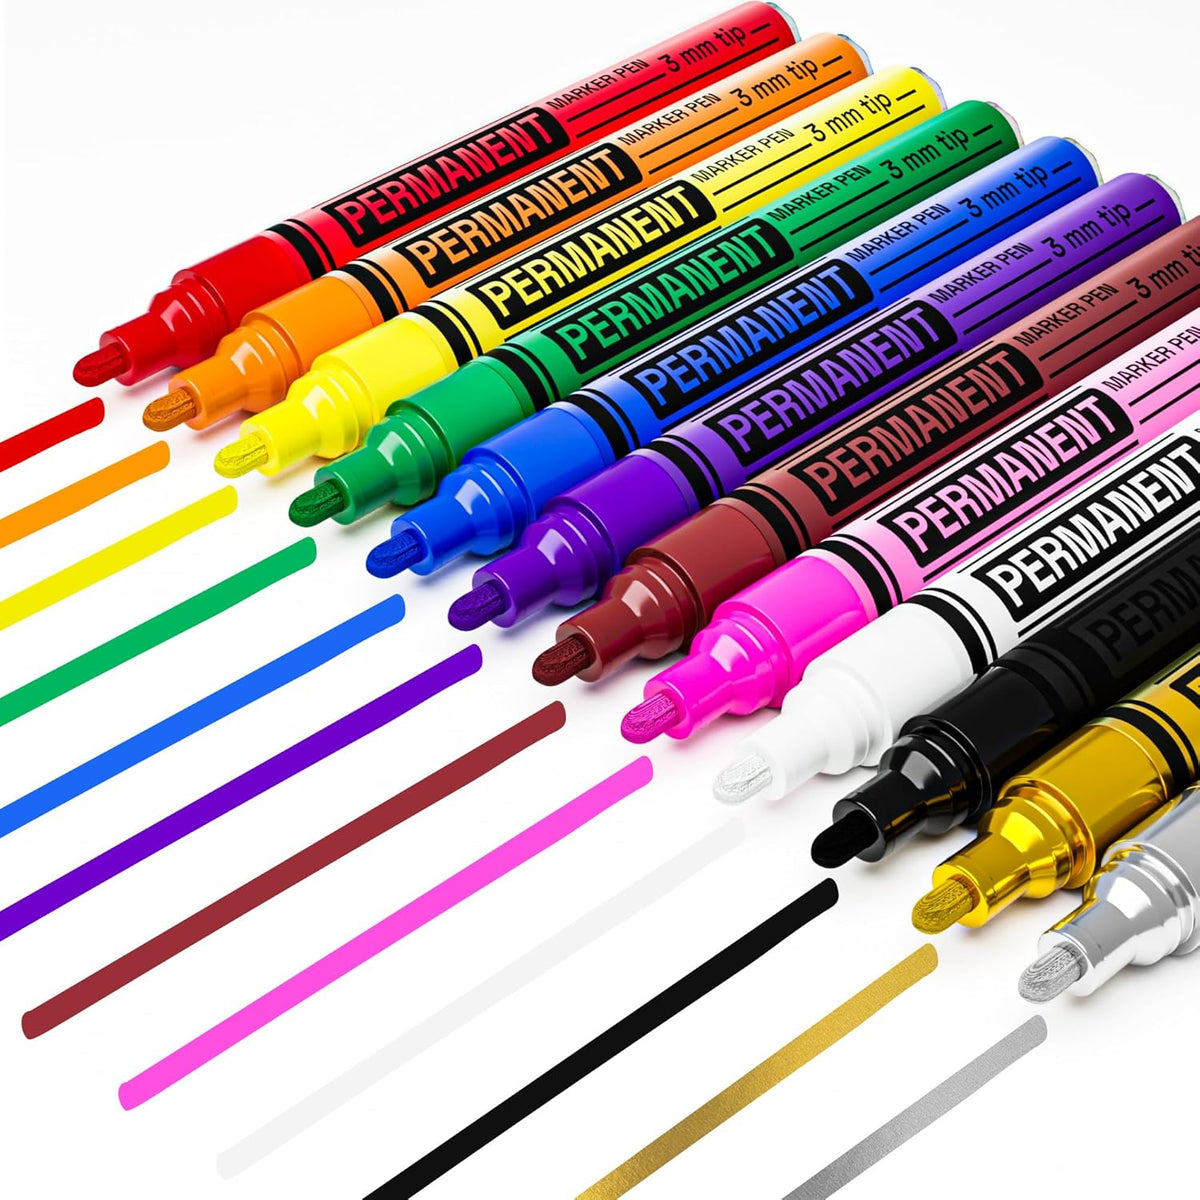
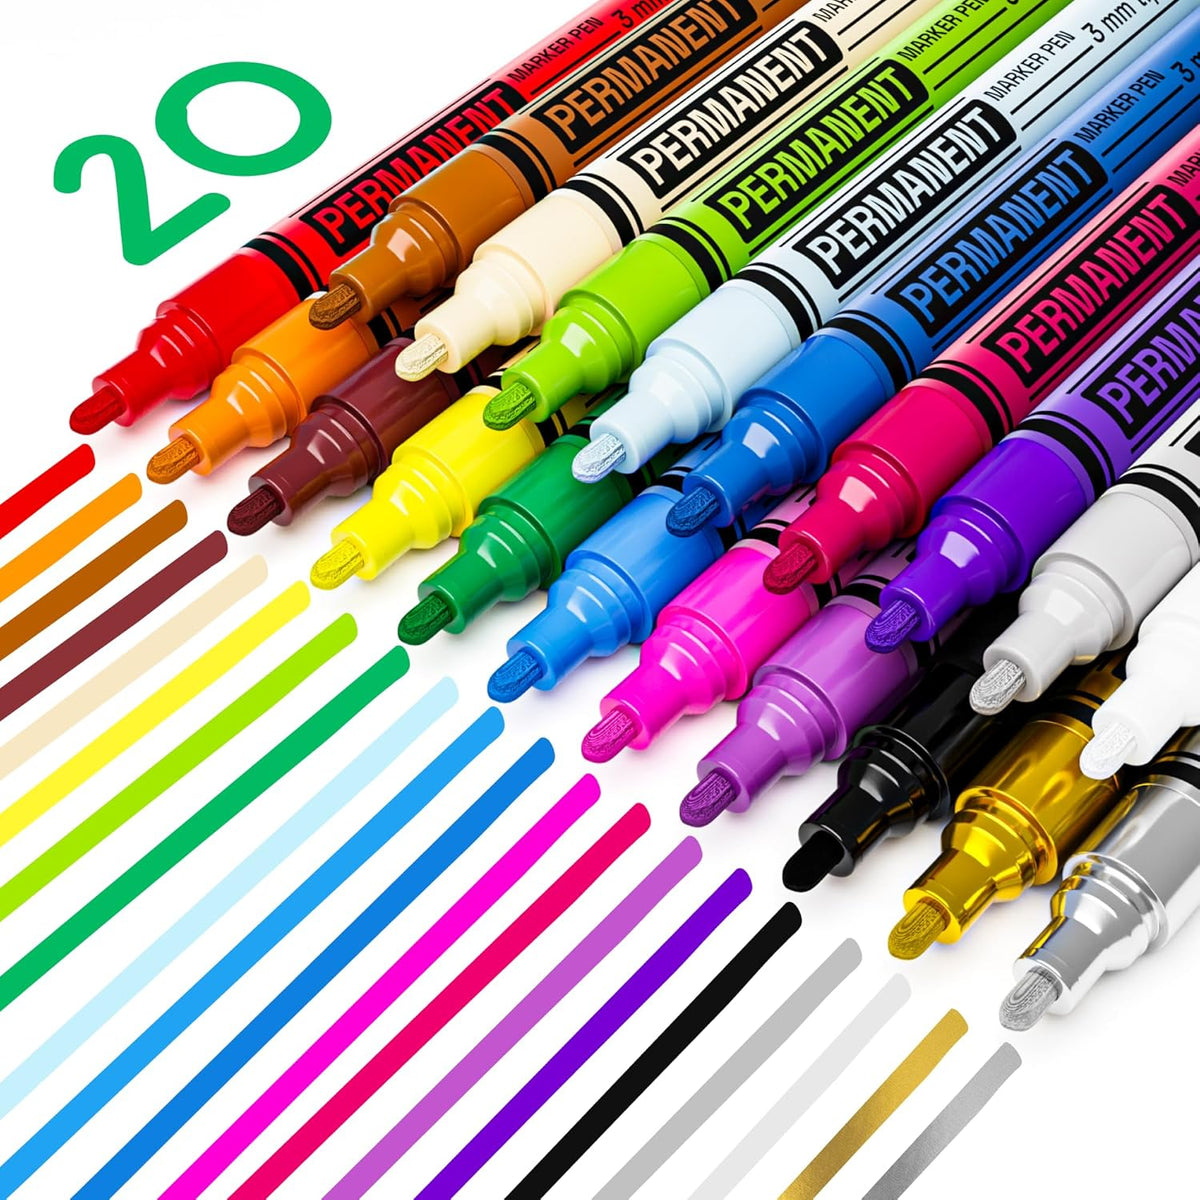
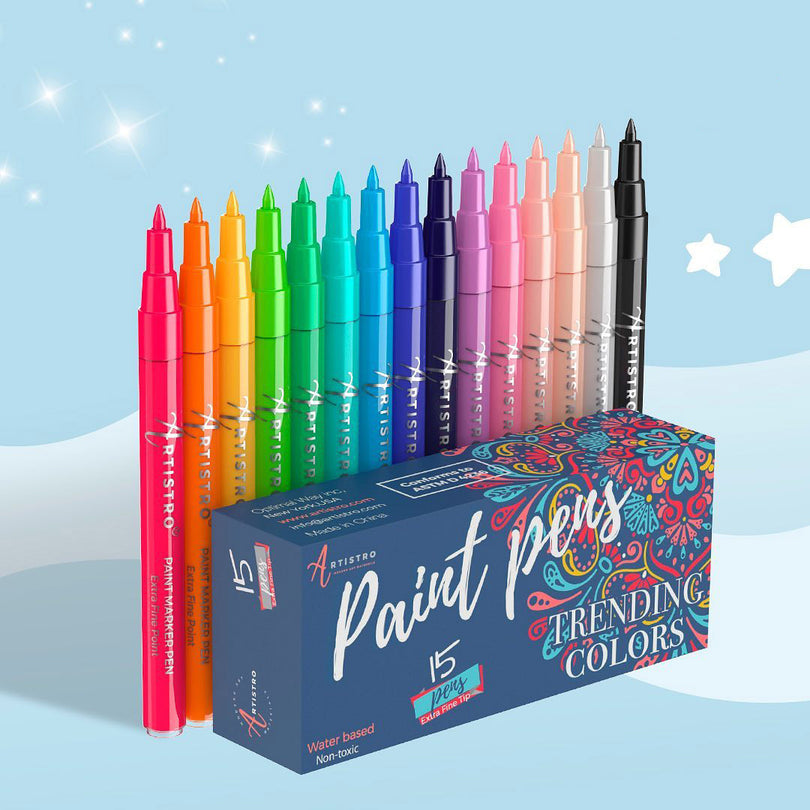
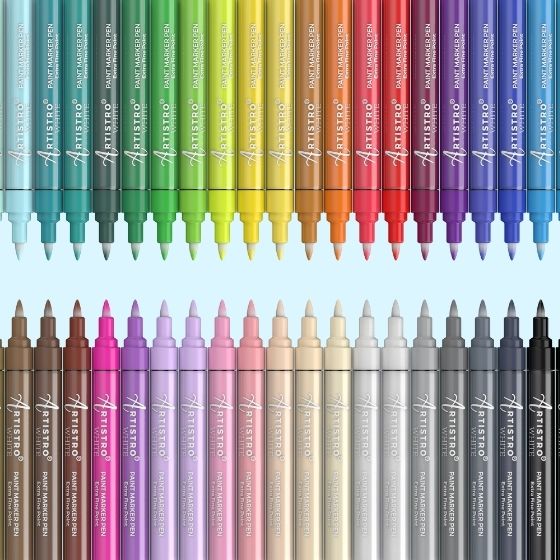
- mix up to three colors
- you need to select close colors, but different shades of markers that blend
- use a dry / wet brush as thinner
- work quickly, so the ink doesn't dry out
- prepare additional tools in advance
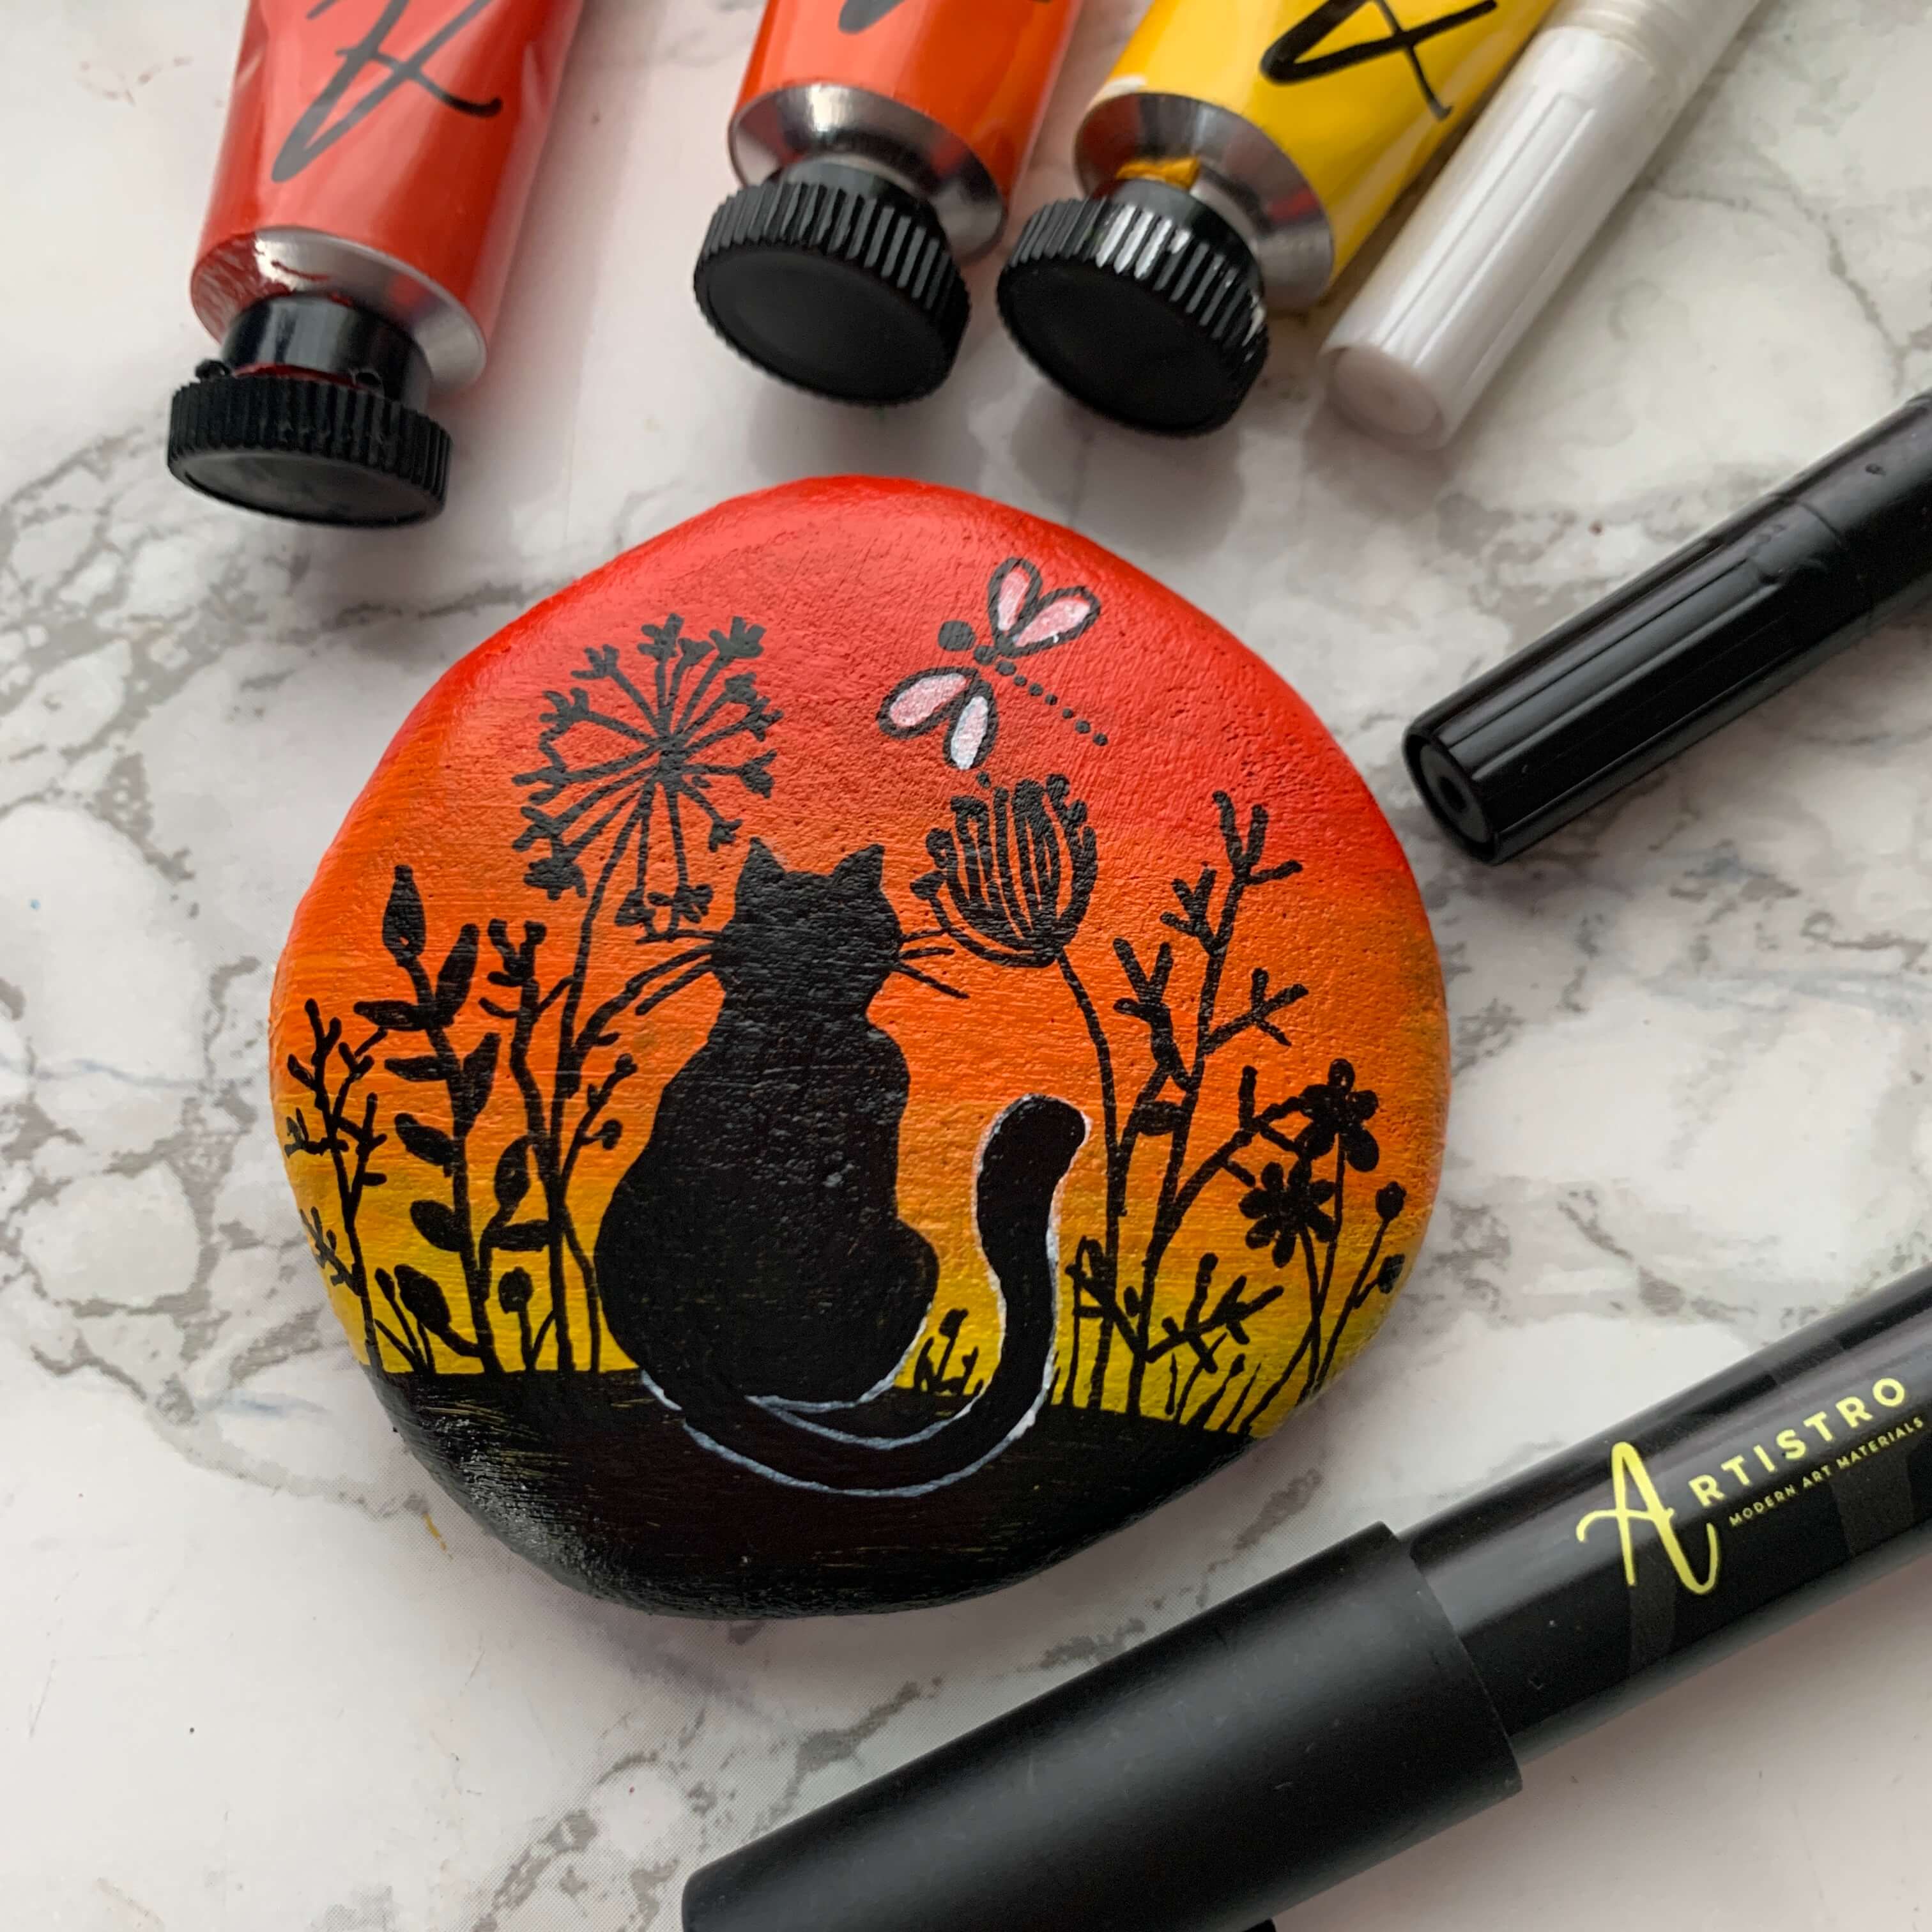
A gradient is a soft transition from one color to another, which can be used on any surface. This is one of the simplest and most beautiful painting techniques. It can be with or without fading elements. The transition can be very soft, or it can be rougher.
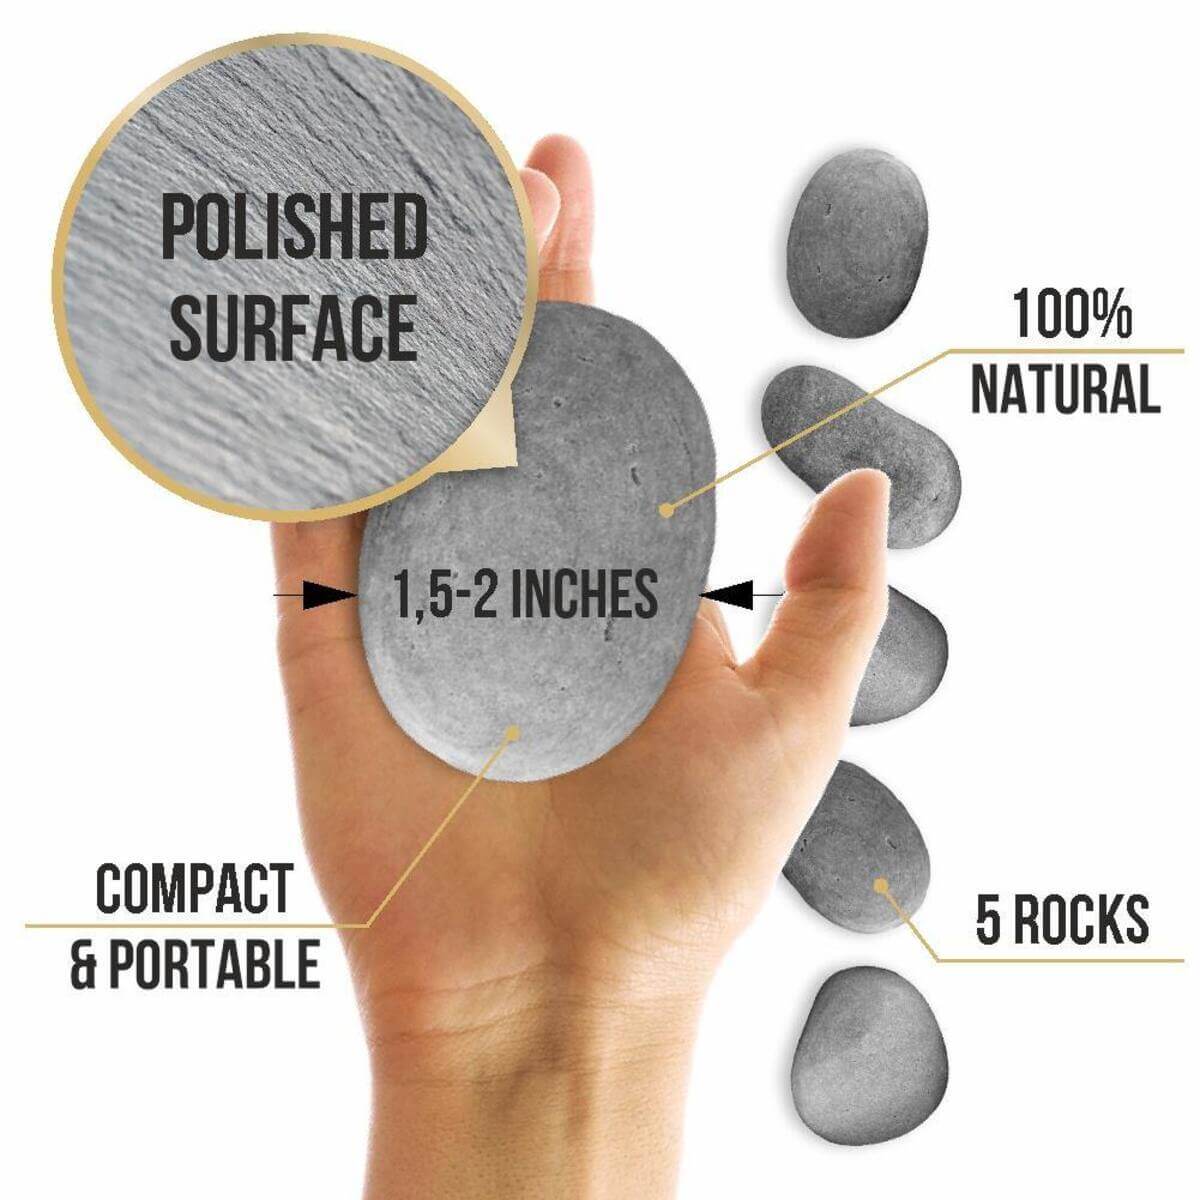
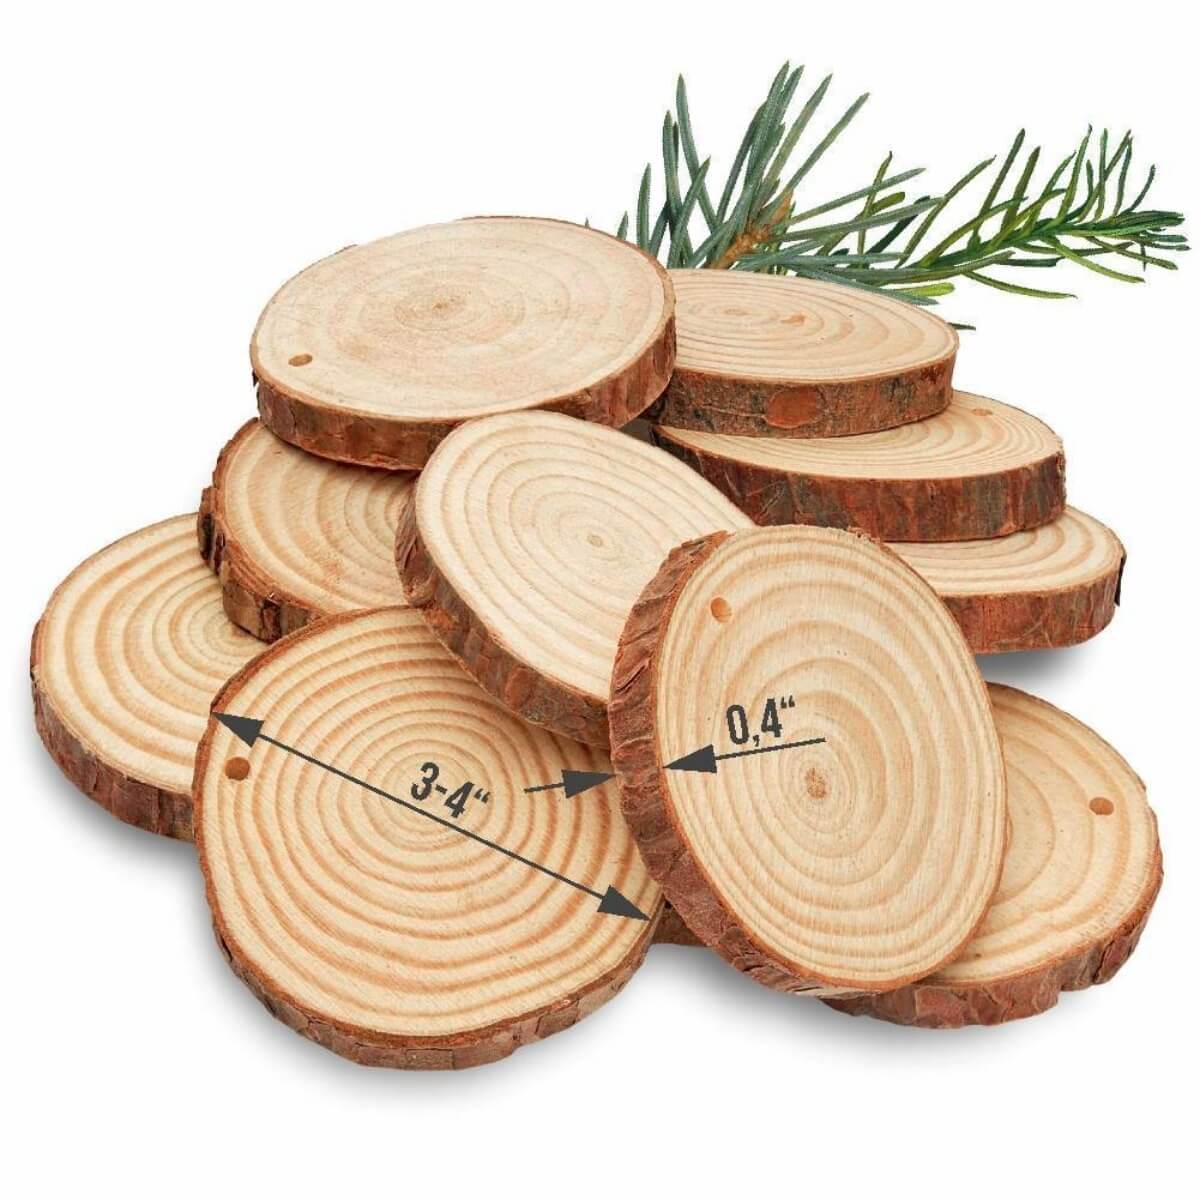
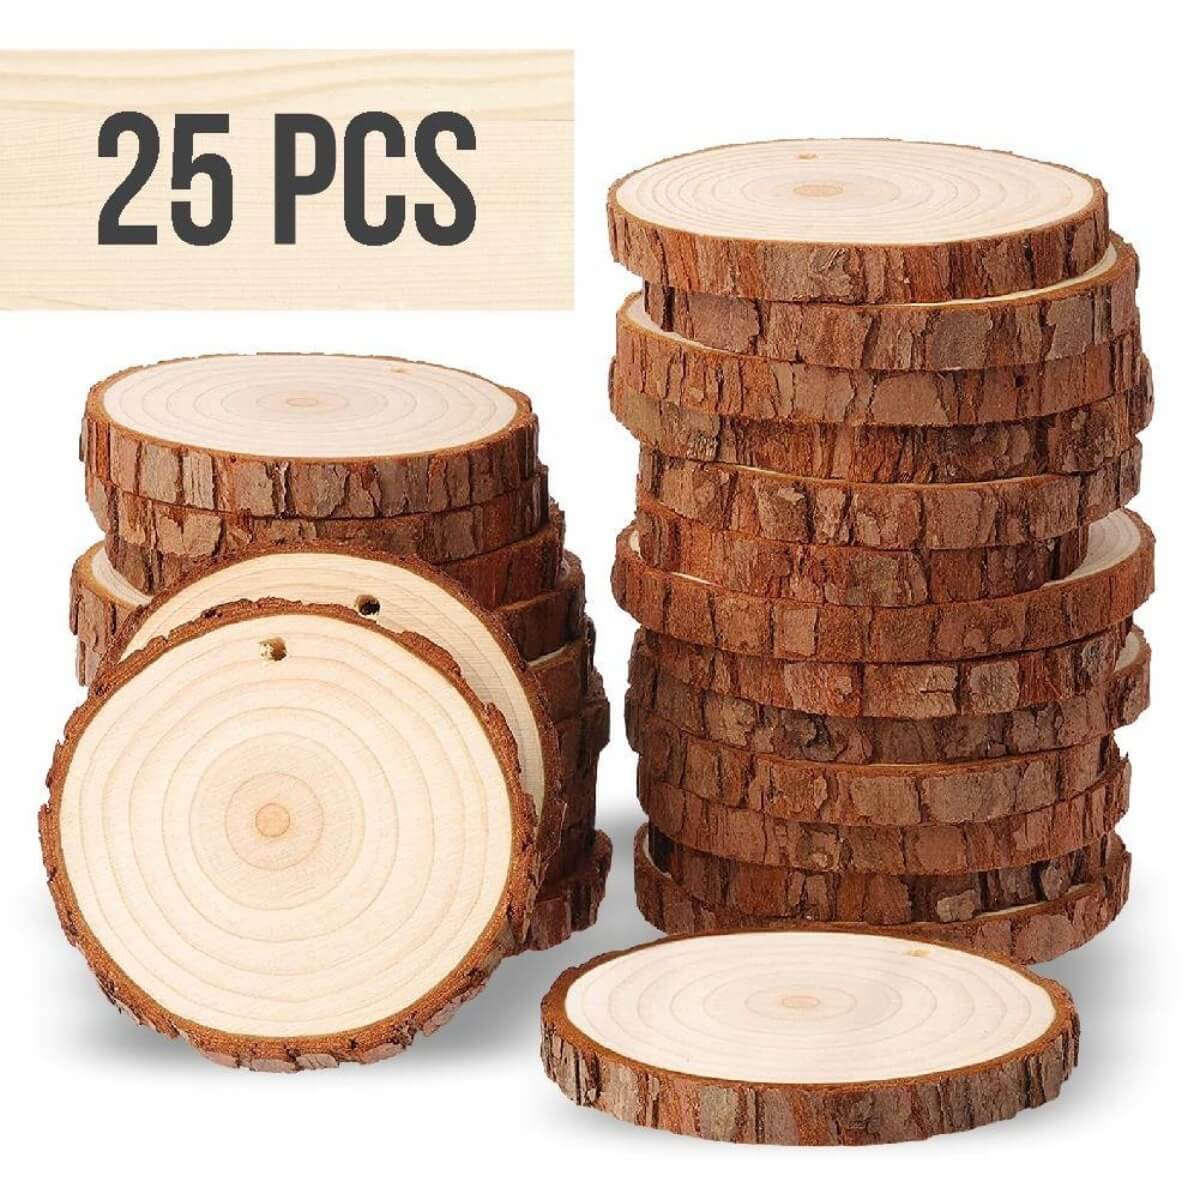
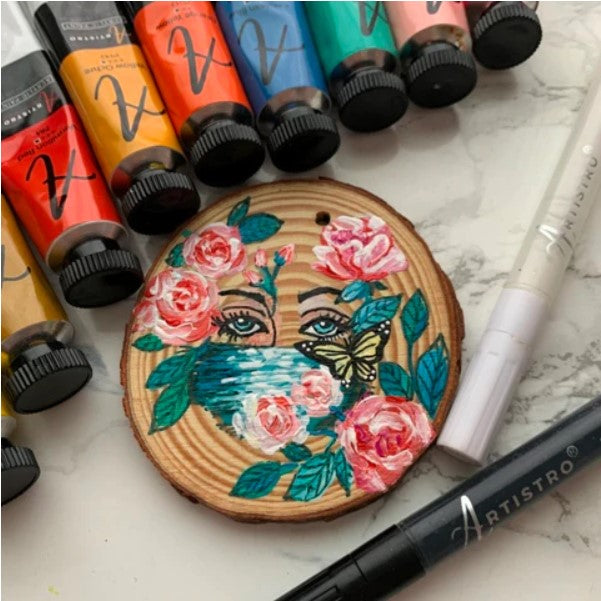
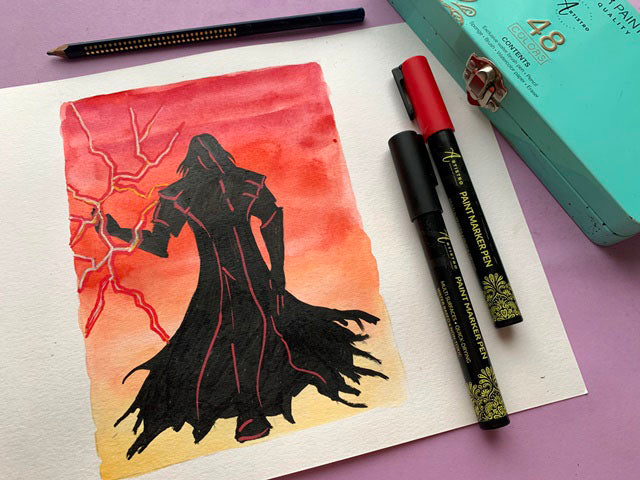
Let's take two shades of red and yellow and try to make a slight gradient on the stone.
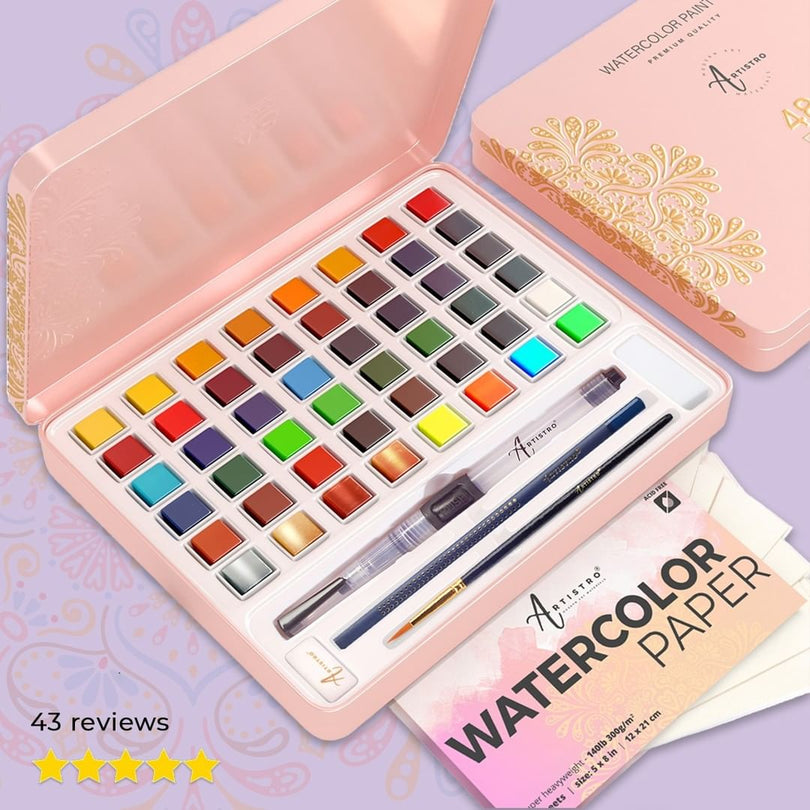
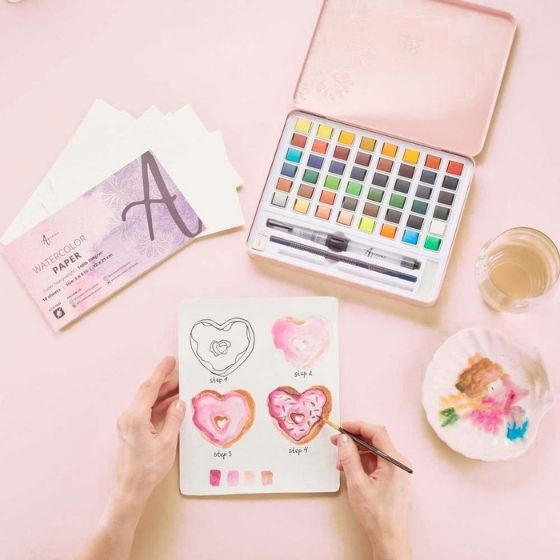
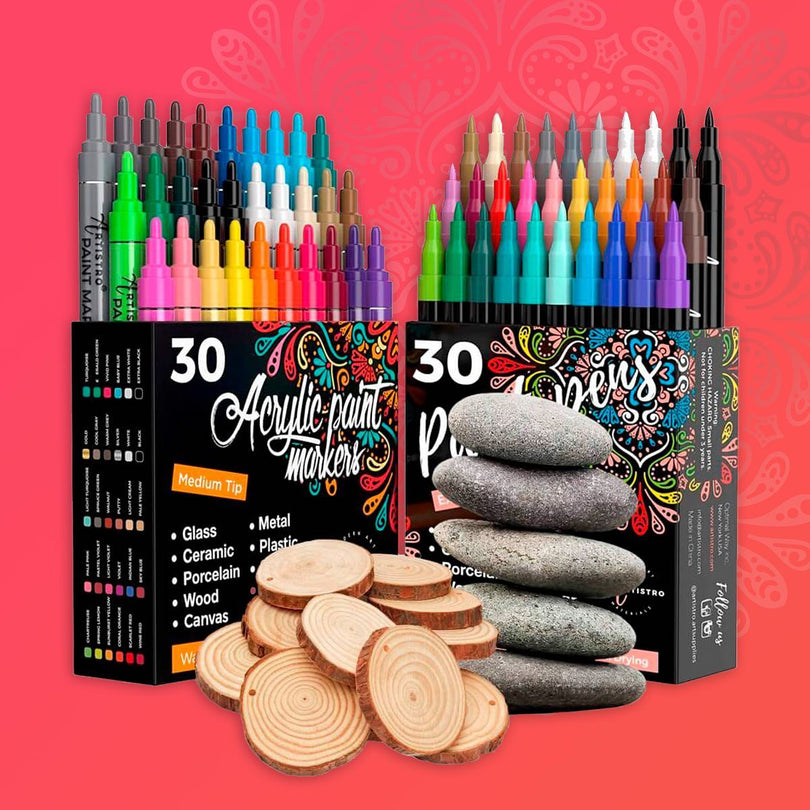
Let's put the main assistant, a brush, separately. And just in case, we will prepare additional tools in advance.
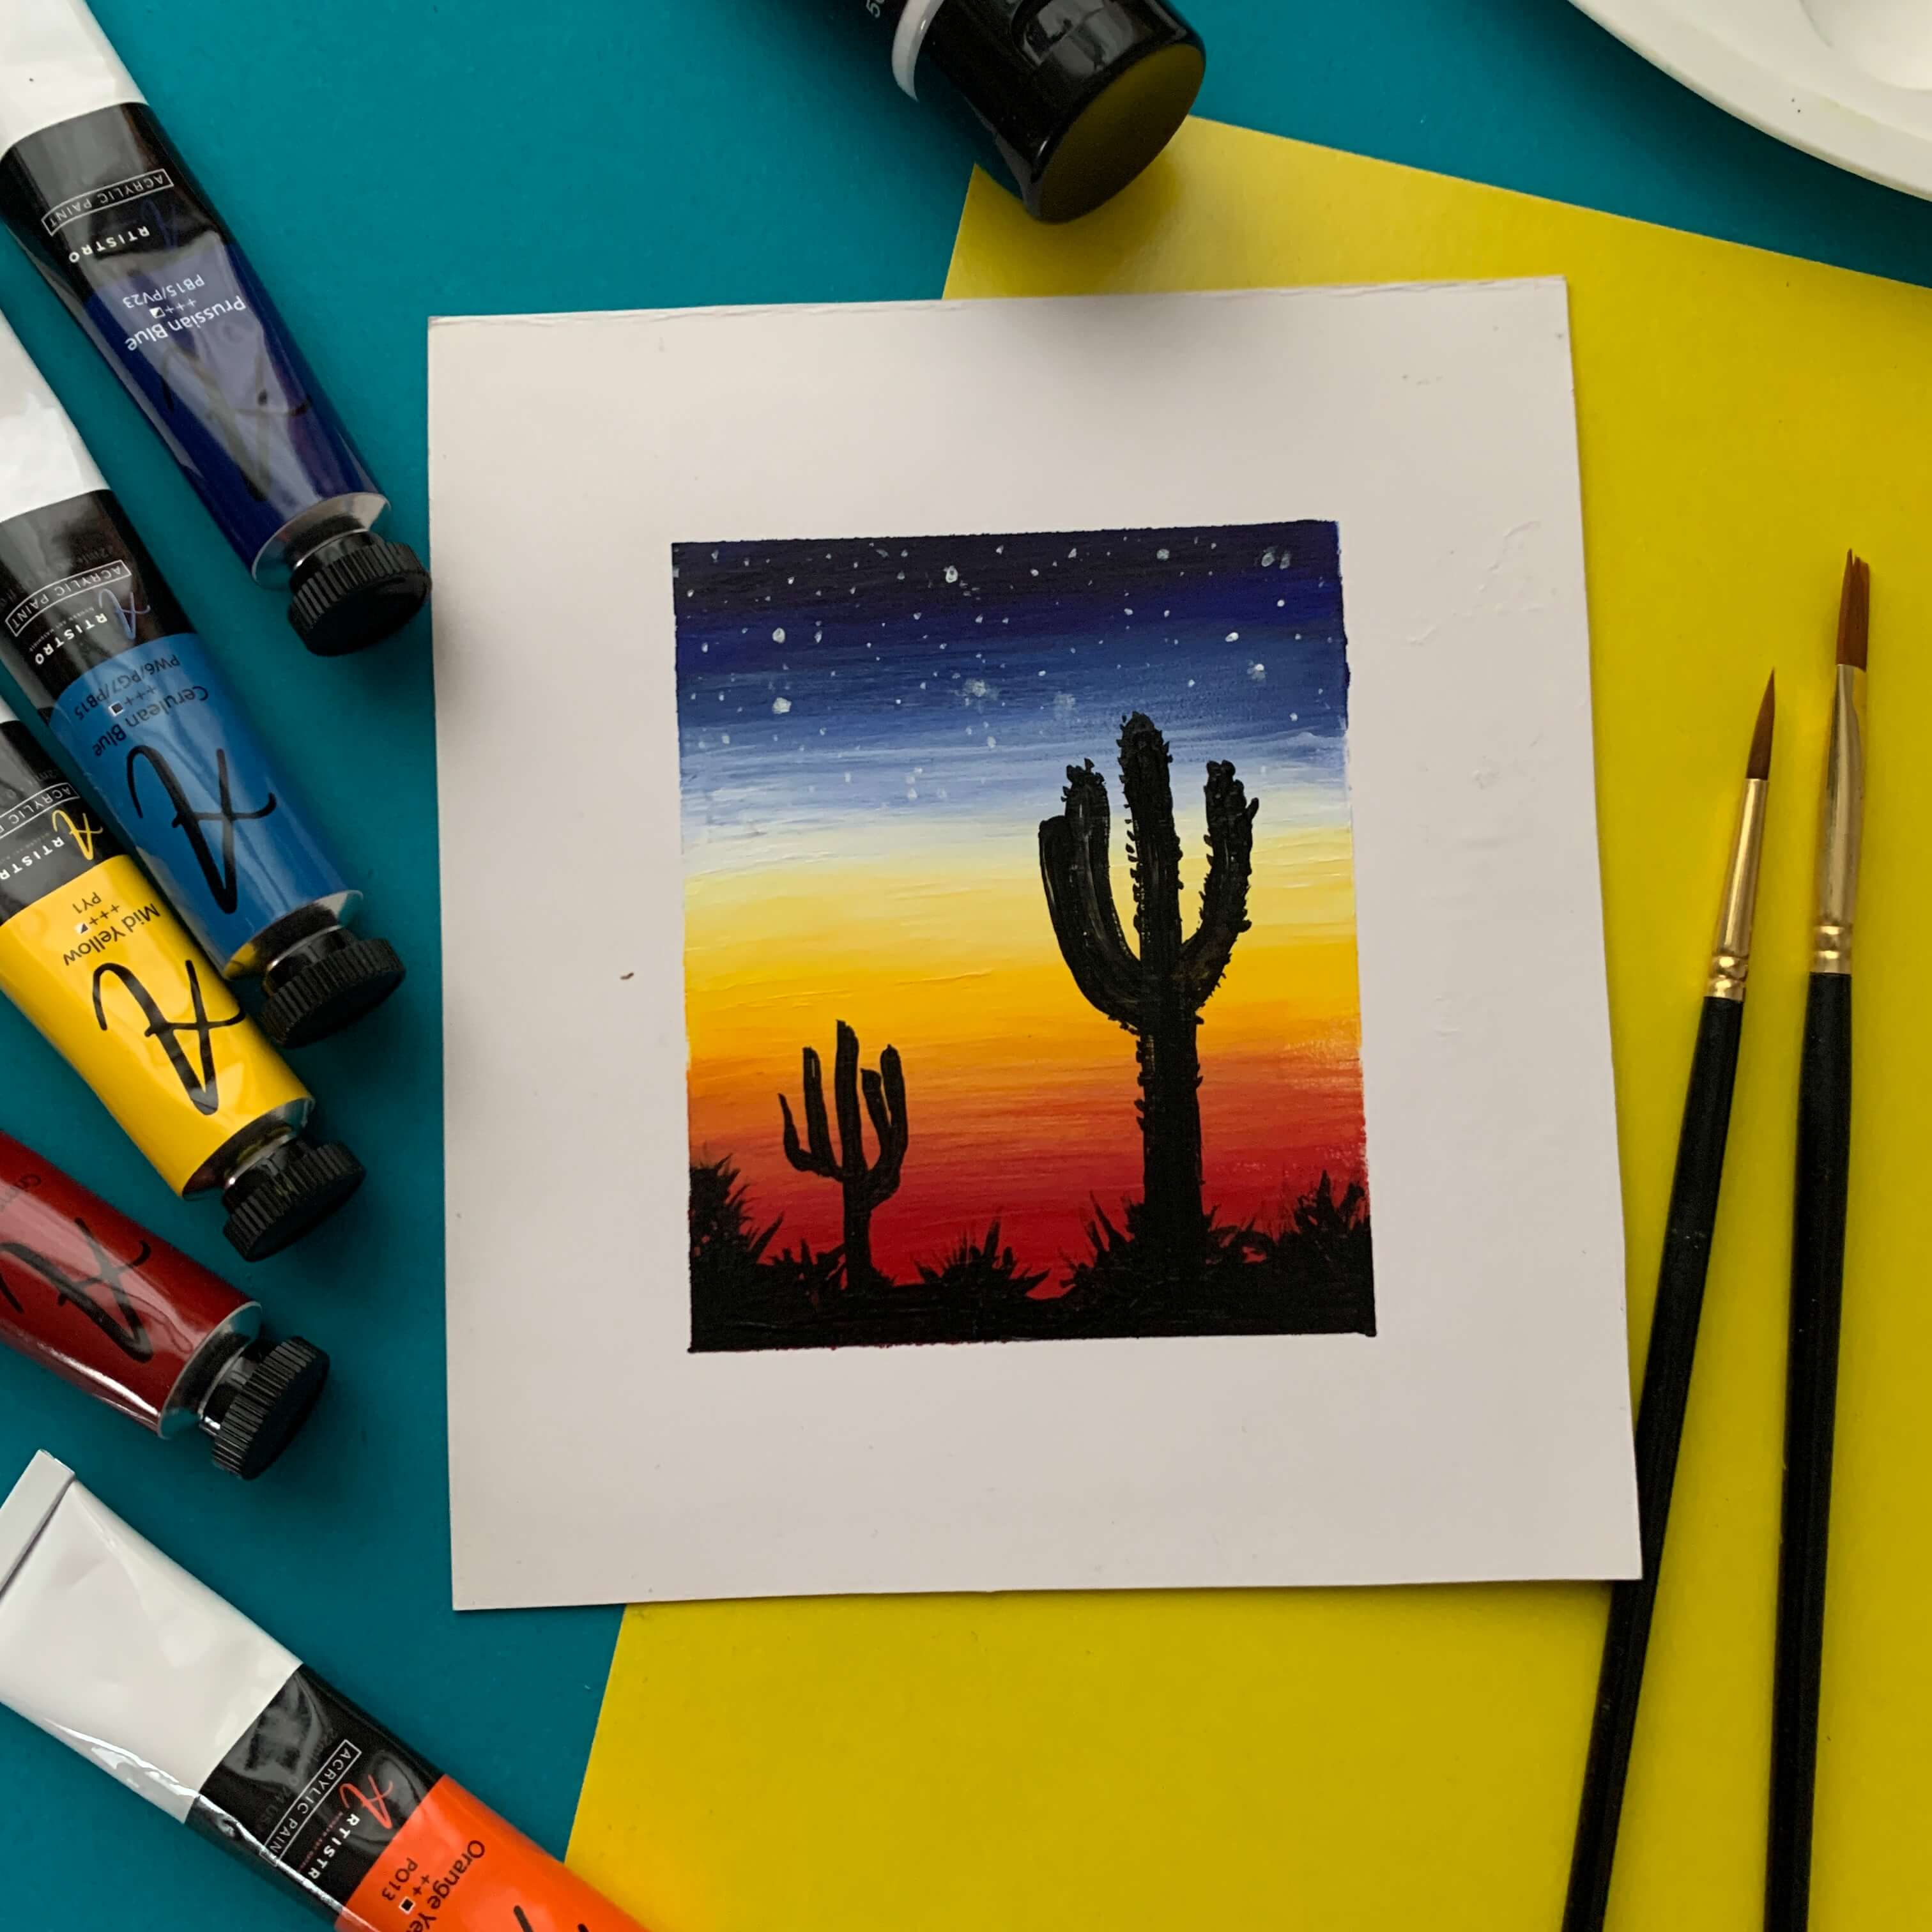
What kind of additional supplies do you need?
We will not use all of these additional tools, but just in case, it is better to prepare them in advance. For example, we will need alcohol and napkins only if it becomes necessary to remove defects in the pattern.

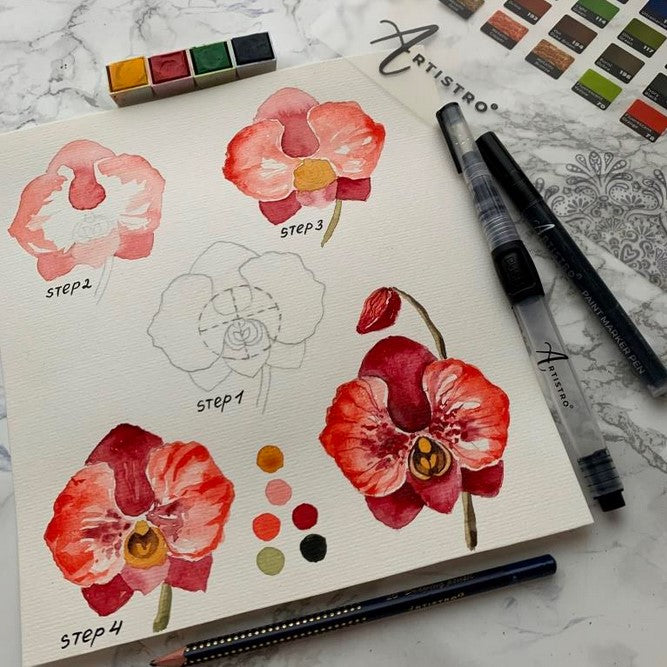
The process of blending markers
Make a preparation layer. It is needed, because the gradient can only be one layer to keep the smooth transition feeling.

Take as a note! Acrylic paints are water based, so using a wet brush or thinning the ink with water will not affect the quality of the paints.
Take as a note! Since acrylic paint dries quickly, and you can work only with wet paint, this technique requires a certain speed and skills.