Continuing the topic of step by step guides, today we want to bring to your attention a detailed lesson on how to draw a penguin. Our article will help you learn how to draw a penguin in 8 easy steps. This guide is suitable even for the smallest children.
Prepare the supplies you need for the lesson:
- a lead pencil,
- an eraser,
- paper,
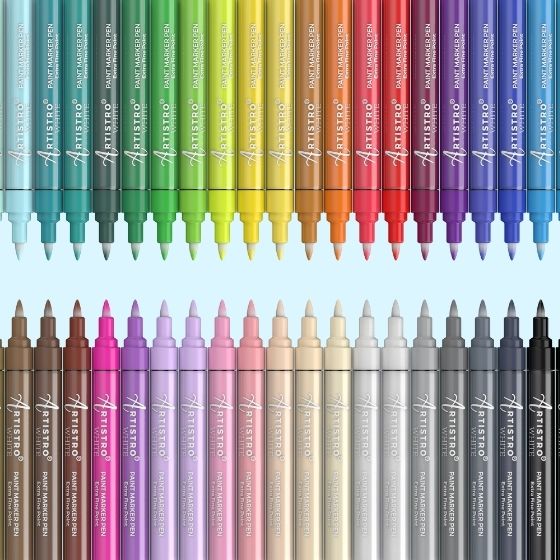
- Artistro acrylic paint markers.
Penguin drawing step by step

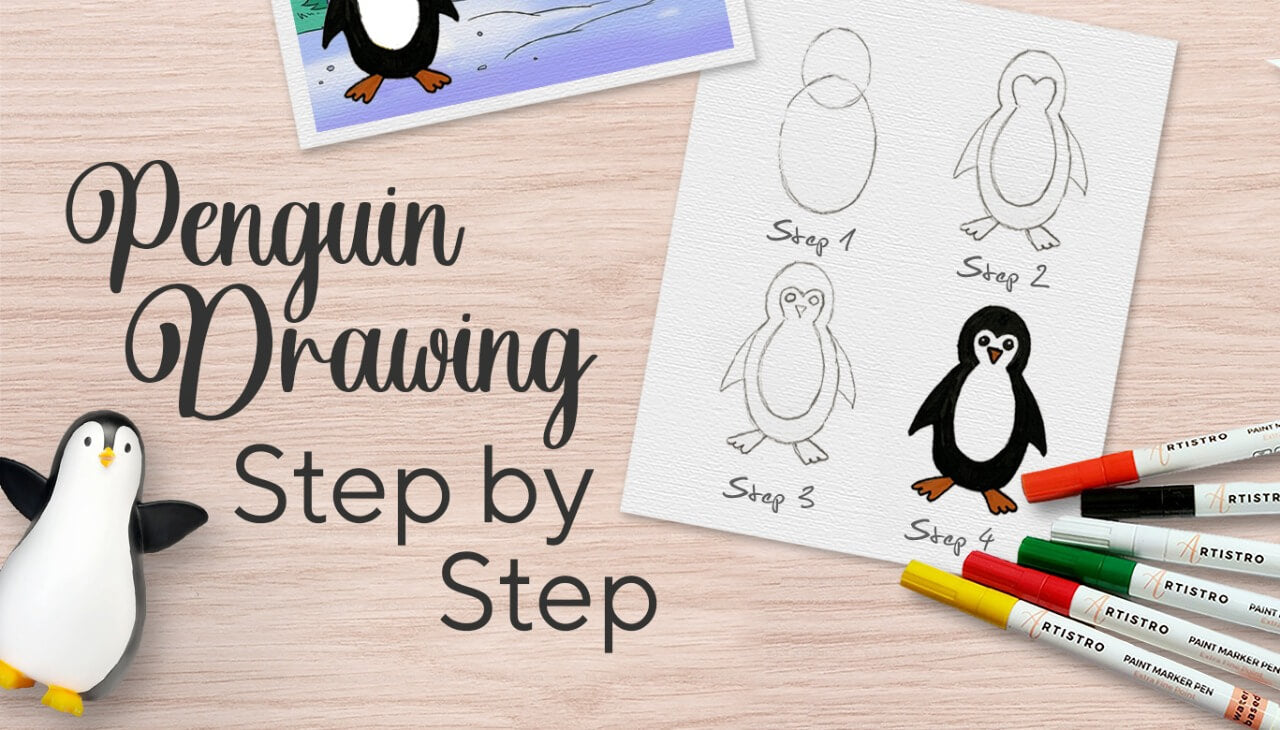
Step 1 - Draw the base of the head
First you need to sketch the base of the head - for this draw a circle of irregular shape.

Step 2 - Draw the base of the body
Draw the base of the torso at the bottom in the form of an oval, intersecting with the circle drawn before.

Step 3 - Erase the extra lines
After that, remove additional construction lines using the eraser. This will give you a combined penguin outline of his body and head.

Step 4 - Draw the belly and face
Draw a heart-shaped face of a penguin inside the formed figure, and then - his belly. See in the picture how to draw a penguin easy by tracing inside an open oval with a pencil, parallel to the large oval of the body.

Step 5 - draw the penguin's wings
Then draw two rounded acute triangles on the sides of the body - these will be the wings.

Step 6 - draw the penguin's legs
Draw the penguin's legs under the outer large oval of the body.

Step 7 - draw the eyes and beak
At the end, draw a small triangle in the middle of the face (this will be the beak) and two small circles (these will be the eyes) to complete the sketch. This is how to draw a penguin step by step. The only thing left to do is to color the drawing. You can use this sketch to create a few different colorful penguin drawings.

Step 8 - Paint the penguin drawing
Color the penguin's body and wings with a black marker. Use an orange marker to tint the penguin's beak and legs. Finally, trace the outline of the beak and legs with a black marker to highlight these elements, and tint the eyes, leaving two tiny empty spaces inside them to create the effect of eye glare.


