Table of Contents:
Can't live a day without your iPhone? Do friends and family often reproach you for being stuck on your phone even at the dinner table? Before going to bed, are you used to kissing your iPhone case before kissing your own spouse?
If you answered "yes" to any of the above questions, then you may be a real gadget addict and this phone case painting ideas for you! We are happy to share our creative phone case design ideas and offer you some original thoughts on how to upgrade your favourite smartphone.
The best Artistro DIY phone case tutorials
There are many interesting things to paint on a phone case. We have selected 16 of the most original ideas from our craft archives for you.
How to make a Geometry phone case

You will need:
How to paint the phone case:
- Clean the case with rubbing alcohol before starting.
- Apply white paint with a sponge to half of the
- Mix some of the white paint with black paint to create a gradient effect.
Tip! Let the previous layer dry completely before applying the next one. This may take a few hours.
- Apply the mixed paint with a sponge to the other half of the phone case.
- Decorate the whole phone case with geometric Let it dry after making each line.
Tip! Remember to shake the markers before each use to mix the ink inside.
- Your new painted phone case will be ready as soon as it's completely dry!
How to make a Belgian waffle phone case

You will need:
How to paint the phone case:
- Clean the phone case with rubbing alcohol.
- Draw the whipped cream topping with a pencil.
- Make a square "marking" of the waffle with a pencil (if necessary).
- Draw the contours of the "marking" of the wafers with colored markers.
- Add darker colors to create the shadows.
- Draw berries with a marker.
- Paint in the whipped cream.
- Let the painting dry.
How to make a Batman phone case

You will need:
- a leather phone case
- a ready-made template on paper (the drawing can be downloaded from the Internet and printed on paper. You can also draw a template for the phone case on your own. Check out these 100+ easy things to draw for inspiration)
- scissors
- a pencil
- 2 colored markers
How to paint the phone case:
- Prepare the template in advance and cut it out with scissors.
- Clean the case with before starting.
- Attach the finished template to the phone case.
- Outline the template with a marker.
- Paint over the necessary patterns.
- Let the cover dry.
How to make a Galaxy phone case

You will need:
- a transparent silicone phone case
- a complete set of oil markers
- a sketch of a drawing
- rubbing alcohol and a napkin
- an insert made of white plain fabric or a piece of cardboard
How to paint the phone case:
- To get started, clean a phone case using rubbing alcohol.
- Place the insert under the case to improve the viewing angle when working with a transparent surface.
- Trace the contours of the planets and tint them with multi-colored markers.
- Draw a sun and add rays to it with a yellow marker.
- Add random stars using a gold marker.
- Use multi-colored markers to add accents to the planets: draw craters, planetary rings, colored lightning, outline the contours of the planets.
- Draw the shadow of the sun with a black marker.
- Draw the face of a green alien man.
- Add random decorations to the Galaxy: serpentine, small planets, comet tails, additional multi-colored stars, white dots of distant systems.
- Draw the moon.
- Once the paint is dry, the phone case is ready to use.
How to make a Wildflowers Iphone case

You will need:
- an opaque plastic or silicone phone case
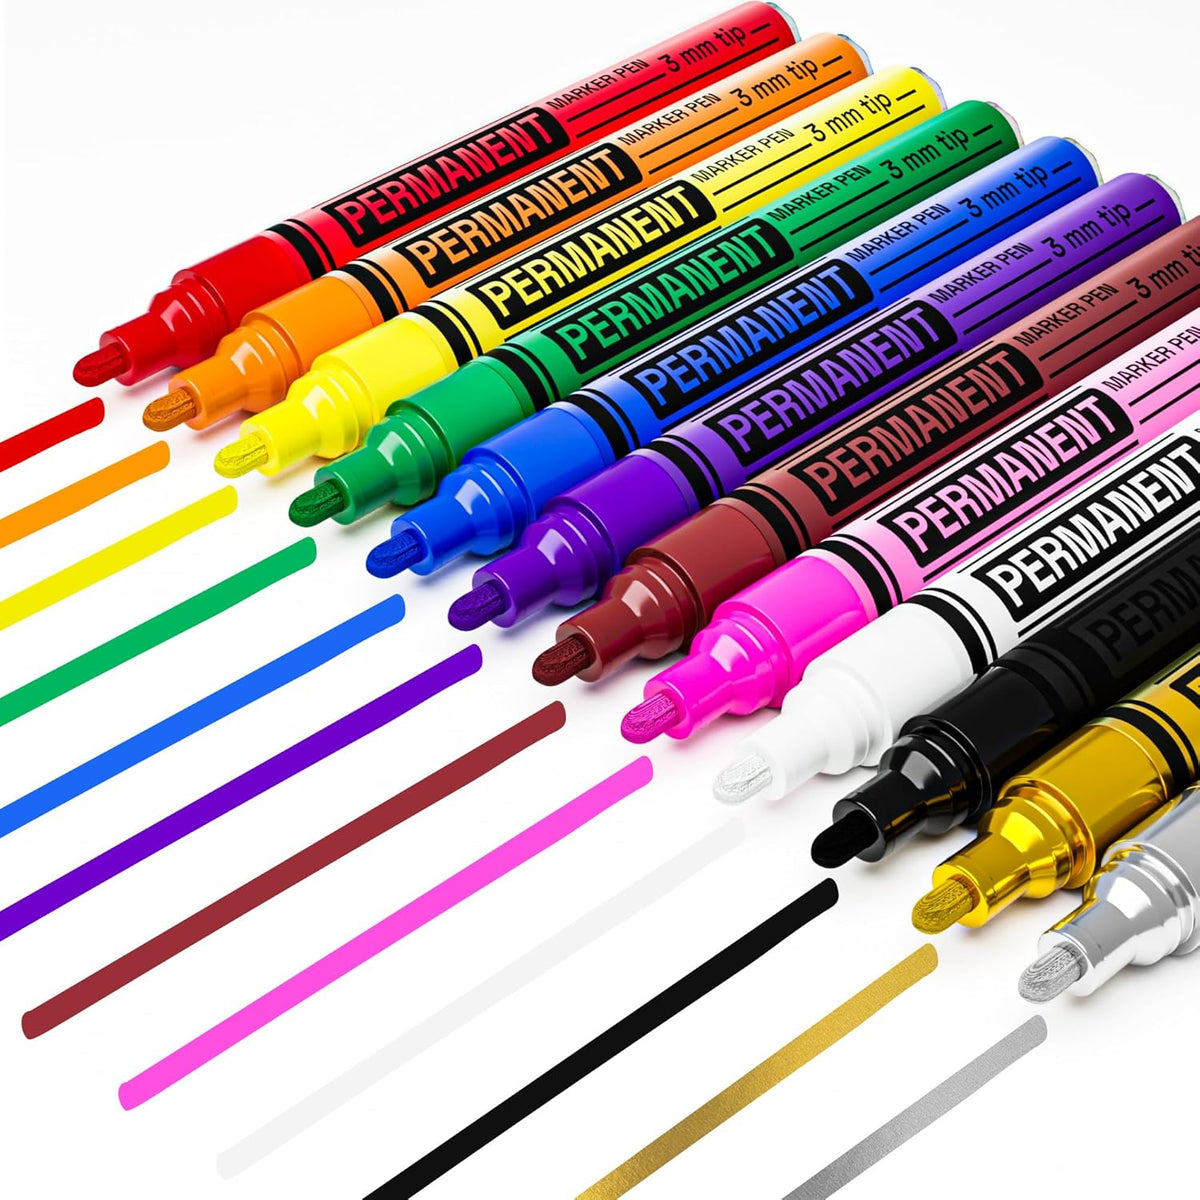
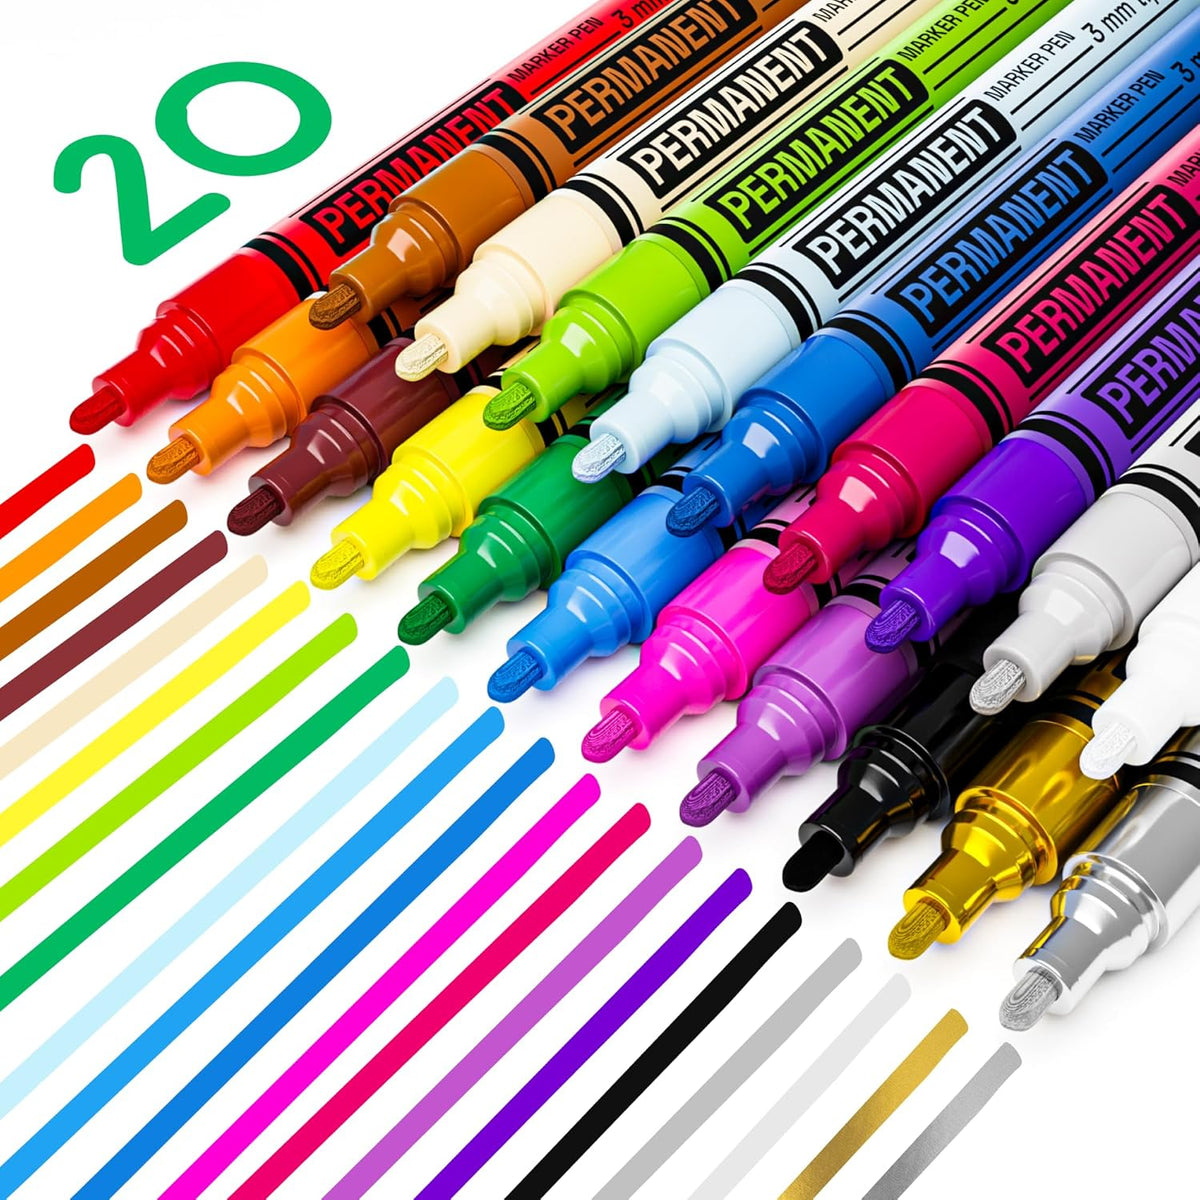
- a set of markers of the desired colors
- a sketch of the picture to copy (if you are unsure of your drawing skills)
- a napkin
- rubbing alcohol
How to paint the phone case:
- Clean a phone case with rubbing alcohol before applying paint.
- Start drawing the lavender flowers with a purple marker.
- Use a white marker to draw the petals of the daisies.
- Use a blue marker to draw the cornflower buds.
- Wait for the flower petals to dry and start drawing their stems with a green marker.
- Add the leaves of the stems using green.
- Use a lilac marker to add volume to the lavender blossoms.
- Use an orange marker to draw the middle of the daisies.
- Wait for the paint on the phone case to dry completely.
How to make a Spiderman phone design

You will need:
How to paint the phone case:
- First, clean a phone case using rubbing alcohol and a napkin.
- Start drawing with the head of Spiderman.
- First tint Spiderman's head and chest with a red marker.
- Add arms and legs and then tint them with a blue marker.
- Use a white marker to draw the eyes of the superhero and trace the outlines of his torso and head.
- Add a spider net on the hero's face with a black marker.
- With a white marker, draw a spider web radiating from the hero's figure.
- Wait until the paint is completely dry.
Creating custom DIY painted phone cases has several highlights and advantages:

Be sure to check out our painting on stonestutorial!
Top 10 Phone case painting ideas
Interstellar phone case painting

You will need:
- a transparent silicone phone case
- a complete set of oil markers
- a sketch of a drawing (if needed)
- a sponge (for mixing paints)
- yellow and carmine acrylic paints (to create a gradient)
- rubbing alcohol and a napkin
How to paint the phone case:
- Clean the phone case with rubbing alcohol.
- Blend the yellow paint with a sponge over the entire surface of the phone case.
- Use a sponge to blend the carmine paint along the edge of the phone case.
- With a green marker, draw the body of the alien and tint it completely.
- Draw a space cat (using pink, beige, turquoise markers) and tint it with the desired colors.
- Using a black marker, trace the outline of the alien and the cat to highlight their figures.
- Add stars and constellation-shaped random dots for decoration.
- Once the paint is dry, your unique painted phone case is ready to use.
Lace phone case painting

You will need:
- a plain plastic phone case
- a white marker
- rubbing alcohol and a napkin
- a sketch of the drawing (if needed)
How to paint the phone case:
- Clean the phone case with rubbing alcohol.
- With a white marker, draw a circle in the lower left corner - this will be the center of the mandala. Draw two rings of the second circle and one ring of the third; add patterns to them. Then add the outer circle, forming it from petals. Partially tint the petals with a white marker.
- To the right of the first mandala, add the second one. Draw the center and then add one circle and another one of the petals. Trace the outline of the flower and add loose dots on the petals.
- Draw a third mandala on top. Draw the center, add a second circle with a chain semicircle pattern, and then add an outer circle of petals, tint them in half.
- Above the last mandala, draw a wide, folded leaf and fill it with random semicircles. Add a couple of repeating lines side by side to accentuate the leaf.
- Draw another half mandala with a similar pattern on the left above the leaf. Add another wide leaf on top and some small stems just to the right of it.
- Add details to the drawing: draw small stems, outline the inflorescences, make a dot scattering.
- Wait until the markers are completely dry and the phone case is ready.
Hot Dog phone case painting

You will need:
- a plain plastic phone case
- a palette and white acrylic paint
- a brush
- rubbing alcohol and a napkin
- a set of colored markers
How to paint the phone case:
- Clean the phone case with rubbing alcohol and let it dry.
- With a flat brush, tint the entire surface with white paint with broad strokes.
- Draw two longitudinal wavy lines with a light green marker - these will be the borders of the bun section. Repeat the lines side by side, with a darker green marker.
- Tint the space between these lines with a brown marker - this will be the sausage section. Then add a gradient, blending a beige marker with a brush over the previous layer.
- Use orange and yellow markers to create a gradient on the surface of the bun. Tint the bottom of the bun with an orange highlighter, then quickly add yellow and blend the junction of the paints to form a smooth transition.
- Repeat step 5 for the other half of the bun.
- Using a red marker, draw a thick line of ketchup in the middle of the sausage section.
- Use a white marker to add random crumb marks on the bun and highlights on the ketchup.
- Add the missing accents: shadows at the junction of the bun, shadows from ketchup and lettuce, add shading to the sausage using a black marker.
- Once the paint is dry, the diy painted phone case is ready to use.
Star Wars phone case painting

You will need:
- a black plastic phone case
- a set of colored markers
- a sketch of the drawing (if needed)
- rubbing alcohol and a napkin
How to paint the phone case:
- First, clean a phone case using rubbing alcohol and a napkin.
- Draw the outline of the helmet with a blue marker.
- Draw the outline of the visor of the helmet with a blue marker.
- Use a red marker to tint the visor of the helmet.
- Use a dark blue marker to tint the void inside the helmet.
- Use a turquoise marker to tint the remaining sections of the helmet surface at the top, left, and right of the visor.
- Add shadows with a light blue marker.
- Add darker shadows with a blue marker.
- Draw the antenna on the right side of the helmet and tint it.
- Using a white marker, add lettering to the bottom of the phone case.
- Wait for the paints to dry and the phone case design is ready.
Lifestyle phone case painting

You will need:
- a ready-made colored plastic case
- a brush tip black marker
- rubbing alcohol and a napkin
- a sketch of the drawing lettering (if needed)
How to paint the phone case:
- Clean the phone case with rubbing alcohol.
- With a brush tip black marker, write the first word in handwritten style, add thickening of the lines where necessary.
- Write the second word in block letter style.
- Write the third word in handwriting style, add thickening as needed.
- Write the fourth word using the block style again.
- Add random arrows to the bottom and top of the phone case as decoration.
- Wait until the marker is completely dry and your diy painted phone case is ready.
Fashion phone case painting

You will need:
- a white plastic phone case
- acrylic paints and a palette
- brushes
- rubbing alcohol and a napkin
- a black marker
How to paint the phone case:
- First, clean a phone case using rubbing alcohol and a napkin.
- Using a flat brush, apply the base colors (beige and brown) in broad strokes, positioning them just below the middle of the case.
- With an oval brush, paint the olive branch with turquoise paint in the upper right corner.
- On the bottom left, add a brown bunch of rowanberry
- In the center, draw a lady's silhouette using a black marker.
- Once the paint is dry, the phone case is ready to use.
Abstractionism phone case painting

You will need:
- a plain plastic phone case
- rubbing alcohol and a napkin
- a brown metallic marker
- acrylic paints and a palette
- brushes
How to paint the phone case:
- Clean the phone case and let it dry.
- Mix ocher with white paint on a palette and apply with a flat brush on the phone case in the upper left corner; apply it in a large spot on the right just below the center.
- Mix champagne with white paint on a palette and apply with a large spot on the left, just above the center.
- Add some more white to the pink paint mix (to get a lighter color) and apply with a slightly smaller spot in the upper left corner (under the ocher spot) and a tiny spot above the large spot on the right (above the large ocher spot).
- In the lower left corner, apply a spot with black paint.
- Mix silver with black paint on a palette and apply the mix with a flat brush with a spot slightly to the right of the previous one.
- Add a small spot of gray to the top of the phone case, covering the pink spot.
- Using a brown metallic marker add decorations: draw patterns using lines, a leaf, add random dots.
- Once the paint is completely dry, your painted phone case is ready.
Tom and Jerry phone case painting

You will need:
- a black plastic phone case
- a set of markers of the desired colors
- a sketch of the picture to copy
- rubbing alcohol and a napkin
How to paint the phone case:
- First, clean a phone case using rubbing alcohol and a napkin.
- Use a white marker to draw the outline of Tom's figure on the black phone case.
- Tint his chest, face, and eyeballs completely with white marker.
- Use a pink marker to tint the inside of Tom's ears.
- Use a turquoise marker to tint the rest of the cat's fur.
- Tint the eye sockets with yellow marker.
- Using a black marker, trace all the details of the drawing: the contour of the cat's body, and also add details (nose, pupils, mustache, eyebrows, facial wrinkles on the face, and eyelids).
- Outline Tom's figure with a white marker to add volume to the drawing.
- Wait for the markers to dry and the cute easy painted phone cases are ready.
Smile phone case painting

You will need:
- a white plastic phone case
- a set of colored markers
- rubbing alcohol and a napkin
- a sketch of the lettering (if needed)
How to paint the phone case:
- Clean the phone case with rubbing alcohol and let it dry.
- Draw lettering with a black marker.
- Add stars with a black marker.
- Using a marker of the desired color (yellow, orange, pink, cyan, purple, green, dark green) draw dividing lines for the colors, and then tint the area between the two lines of the same color, forming a winding ribbon of a certain color.
- Repeat step 4 until the entire phone case is covered with colorful ribbons in bright shades.
- Wait for the markers to dry and the cute phone case painting ideas are ready.
Spooky phone case painting

You will need:
- a white plastic phone case
- a set of markers of the desired colors
- a sketch of the picture to copy (if needed)
- rubbing alcohol and a napkin
How to paint the phone case:
- Clean the phone case and let it dry.
- Draw the body of the ghost with a black marker.
- Draw his legs and staggered to get funny pants.
- Trace the outline of the book with black marker, draw the arms and goggles.
- Use an orange marker to tint the cover of the book.
- Draw the pumpkin with an orange marker as a chair, then trace its outline with a black marker.
- Add details: book title, stars, folds on the ghost's robe with black marker.
- With a green marker, paint the grass at the feet of the ghost and the tail of the pumpkin.
- Once the paint is completely dry, your DIY painted phone case is ready.
Mandala phone case painting
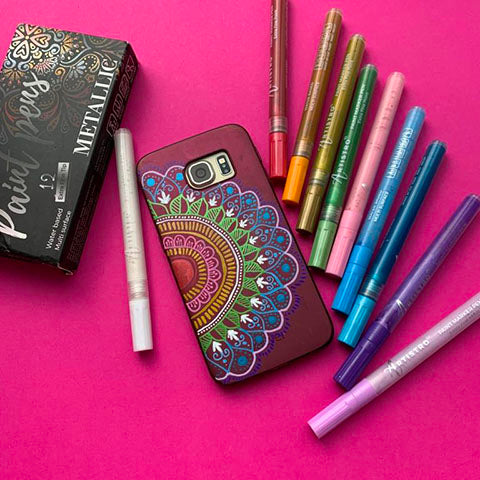
You will need:
- a plain plastic phone case
- a set of colored markers
- rubbing alcohol and a napkin
- a sketch of the drawing (if needed)
How to paint the phone case:
- First, clean a phone case using rubbing alcohol and a napkin.
- Use a red marker to draw the core of the flower (the center of the mandala).
- With a yellow marker, add a series of rays radiating from the center, forming them into a second circle.
- Using a pink marker, draw a semicircle of the petals and add veins to them.
- Add another sun-shaped semicircle with rays using a yellow marker.
- With a white marker, draw a semicircle and add dots to form the next line.
- With a green marker, draw another semicircle from which the leaves are radiating. Tint the leaves halfway with the dashed line.
- Use a white marker to add drip decoration between the green leaves of the previous row.
- Add another row of petals with a blue marker. Add decorations inside the petals.
- Use a pink marker to add another row of rounded petals.
- Inside the pink petals, add a dotted pattern with a blue marker.
- Add ray patterns to the last row of petals using a purple marker.
- Wait for the paint on the phone case to dry completely and your DIY phone case design is ready.
Pumpkin phone case painting

You will need:
- a transparent silicone phone case
- a complete set of colored markers
- a sketch of a drawing (if needed)
- rubbing alcohol and a napkin
How to paint the phone case:
- Clean a phone case with rubbing alcohol before applying paint.
- Use а black marker to draw the outline of the pumpkin. Then sketch out the outlines of the horns and the tail of the pumpkin.
- Draw and shade the entire mouth, eye sockets, and nose of the pumpkin. Then draw the outline of the eyebrows.
- Use an orange marker to tint the rest of the pumpkin.
- Tint the eyebrows and pumpkin tail with a gray marker.
- Using a black marker, add volume to the pumpkin tail and a little curl alongside. Then divide the horns into sectors and tint them one after one.
- Tint the remaining sectors of the horns with a green marker.
- Add decor with random dots on the phone case around the drawing using an orange marker.
- Once the paint is dry, the phone case is ready to use.
Peony phone case painting

You will need:
- a transparent silicone phone case
- a set of markers of the desired colors
- a sketch of the picture to copy (if needed)
- rubbing alcohol and a napkin
How to paint the phone case:
- Clean the phone case with rubbing alcohol and let it dry.
- Petal by petal, draw the inflorescence of the blossoming peony using a black marker. Then draw the stem of the flower and add three leaves to the right to it.
- Draw a bud-shaped inflorescence of the second peony. Draw a stem and add two leaves to the right of it.
- Tint the petals of the blossoming peony with a light pink marker. Add shadows where needed, using a mauve marker.
- Using the method described in step 5, tint the entire bud-shaped inflorescence of the second peony.
- Use a bright green marker to paint the stems and leaves on them.
- Add shadows to the leaves using a turquoise marker.
- Once the paint is completely dry, your painted phone case is ready.
Lord Vader phone case painting

You will need:
- a plain plastic phone case
- a set of colored markers
- rubbing alcohol and a napkin
- a sketch of the drawing (if needed)
How to paint the phone case:
- First, clean a phone case using rubbing alcohol and a napkin.
- With a black marker, draw the outline of Vader's figure: a large helmet, a chibik-shaped body, and the hem of a cloak behind his back. Add the lightsaber in Lord Vader's right hand.
- Using a gray marker, tint the appropriate details of the drawing: the vocoder, the center ridge and the lower border of the helmet, the area around the eyes, gloves, some of the buttons on the suit.
- Tint the energetic part of the lightsaber, some of the buttons on the suit, and the lining of the cloak with a red marker.
- Use a white marker to add highlights as needed: on the top right of the helmet, in the corners of the vocoder, and also add highlights in the pupils.
- Draw two rectangles above Vader's head with a black marker.
- Tint the space inside the rectangles with white marker completely.
- After the acrylic is dry, add labels inside the rectangles using black and white markers respectively.
- Wait for the paints to dry and the phone case design is ready.

